How to Install Ubuntu Desktop 24.04.1 on Proxmox 8.3.3

1. Introduction
Virtual machines have become an essential tool in modern computing environments, offering flexibility, resource efficiency, and enhanced security through isolation. This guide will walk you through the process of installing Ubuntu Desktop 24.04.1 as a guest operating system on Proxmox VE (Virtual Environment 8.3.3), combining the user-friendly Ubuntu desktop experience with Proxmox's powerful virtualization capabilities.
Why This Matters
Installing Ubuntu Desktop on Proxmox allows you to create a fully functional desktop environment within your virtualization infrastructure. This setup is particularly valuable for:
- Development and testing environments that require a graphical interface
- Remote desktop workstations that can be accessed from anywhere
- Isolated environments for software testing and evaluation
- Learning and educational purposes where system snapshots are beneficial
Time and Resource Requirements
The complete installation process typically takes between 30-45 minutes, depending on your system's performance and network speed. This estimate includes:
- Initial VM creation (5 minutes)
- Ubuntu installation (20-25 minutes)
- Post-installation configuration (10-15 minutes)
Target Audience
This guide is designed for:
- System administrators familiar with Proxmox basics
- IT professionals setting up development environments
- Technical users who want to run Ubuntu Desktop in a virtual environment
Required Experience
While this guide provides detailed instructions, you should have:
- Basic familiarity with Proxmox VE interface
- Understanding of basic virtualization concepts
- Comfort with basic Linux commands and concepts
What You'll Accomplish
By the end of this guide, you will have:
- A fully functional Ubuntu Desktop 24.04.1 virtual machine running on Proxmox
- Properly configured VM with optimal settings for desktop use
- Essential guest tools installed for better integration
- Basic understanding of VM resource management
What you learn here will serve as a foundation for creating and managing other desktop-oriented virtual machines in your Proxmox environment.
2. Prerequisites
Before beginning the Ubuntu Desktop installation on Proxmox, we need to ensure your environment is properly prepared. Understanding and meeting these requirements will help ensure a smooth installation process.
System Requirements
Your Proxmox host system should meet these minimum specifications for running Ubuntu Desktop 24.04.1 effectively:
For the Proxmox host:
- CPU: 64-bit processor with hardware virtualization support (Intel VT-x/AMD-V)
- RAM: At least 4GB available for the Ubuntu VM (plus memory for Proxmox and other VMs)
- Storage: Minimum 30GB free space for the VM (50GB recommended)
- Network: Working network connection with sufficient bandwidth for downloading updates
For the Ubuntu Desktop VM itself, plan to allocate:
- CPU: 2 cores minimum (4 cores recommended for smooth desktop experience)
- RAM: 4GB minimum (8GB recommended for optimal performance)
- Storage: 25GB minimum (50GB recommended for comfortable usage)
- Display: 64MB video memory minimum (128MB recommended)
Preparation Steps
Upload the ISO to Proxmox:
Access your Proxmox web interface
Navigate to your storage location (typically 'local' or 'local-lvm')
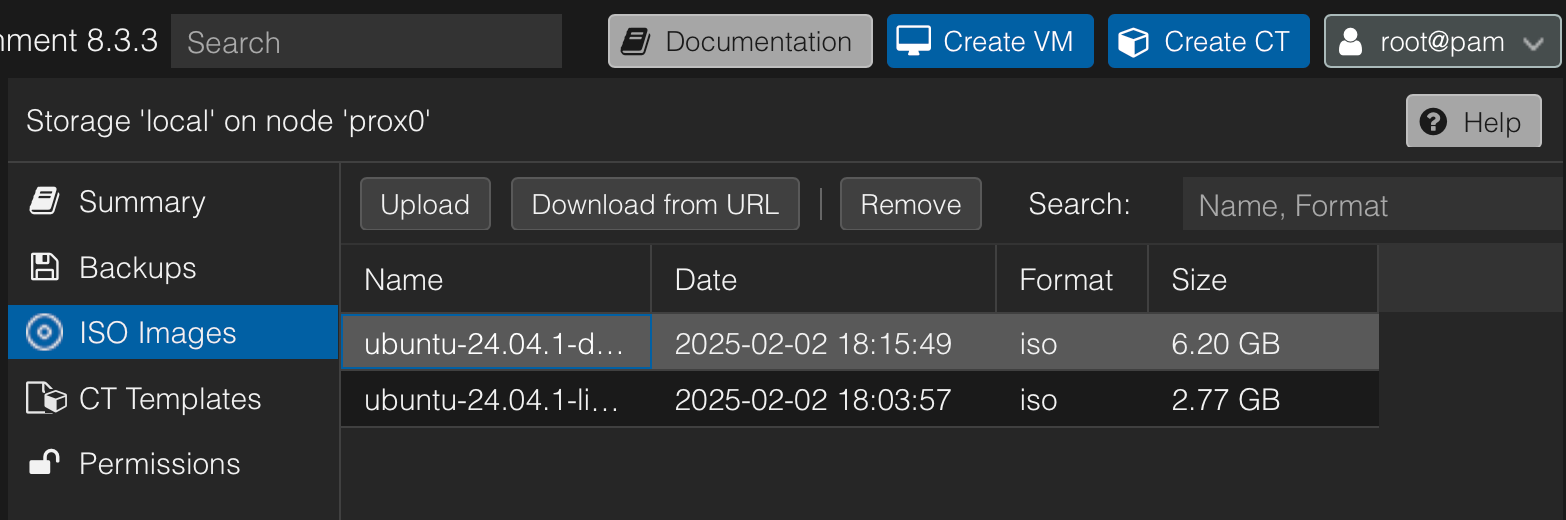
Select 'ISO Images'
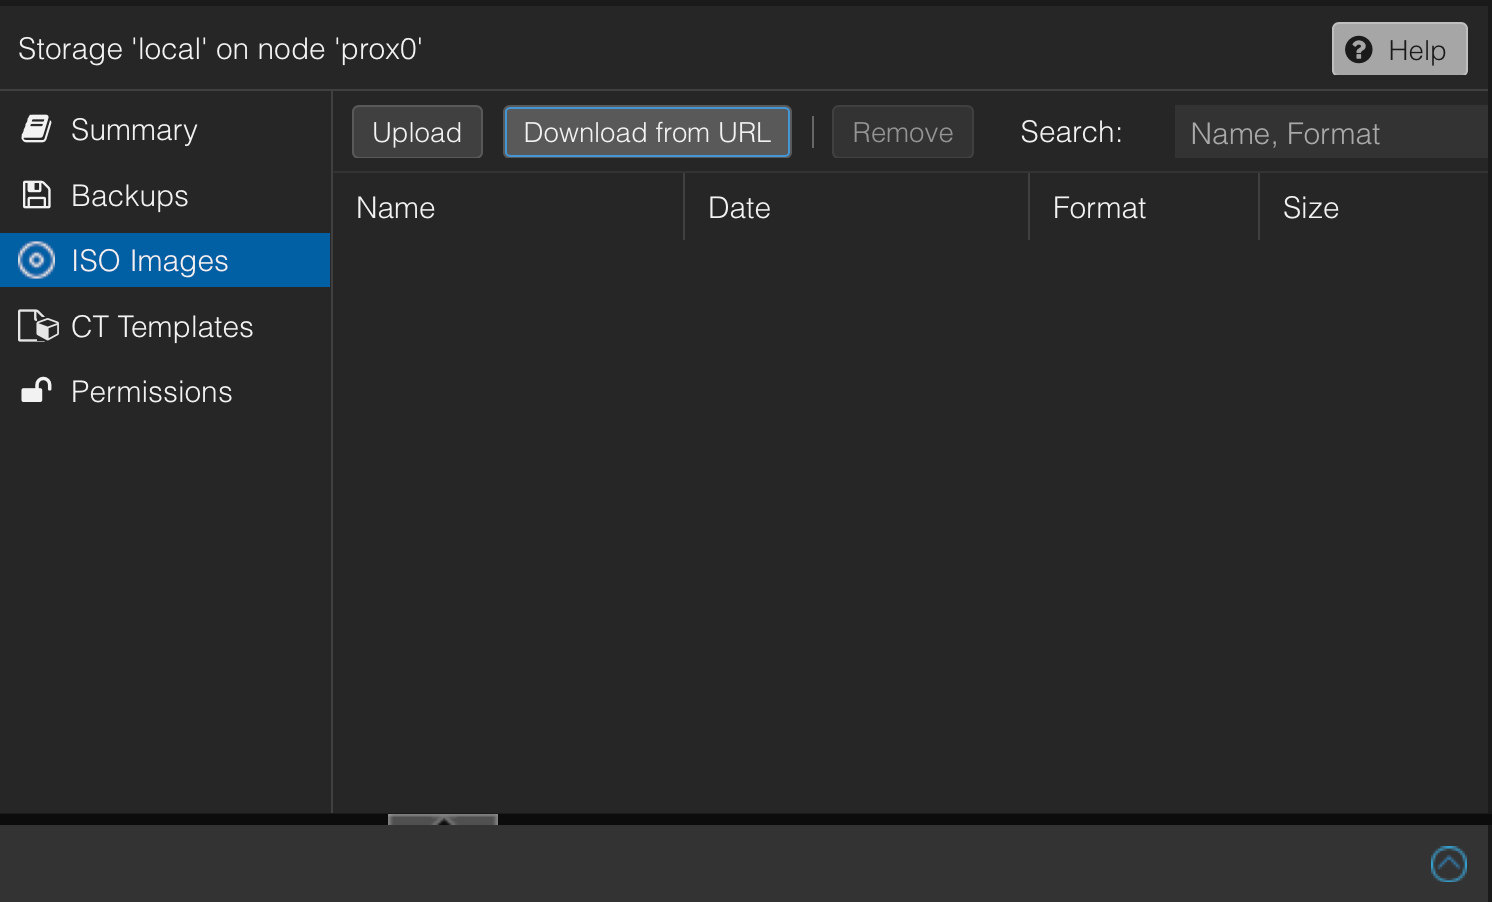
Click 'Upload' and select your downloaded Ubuntu ISO
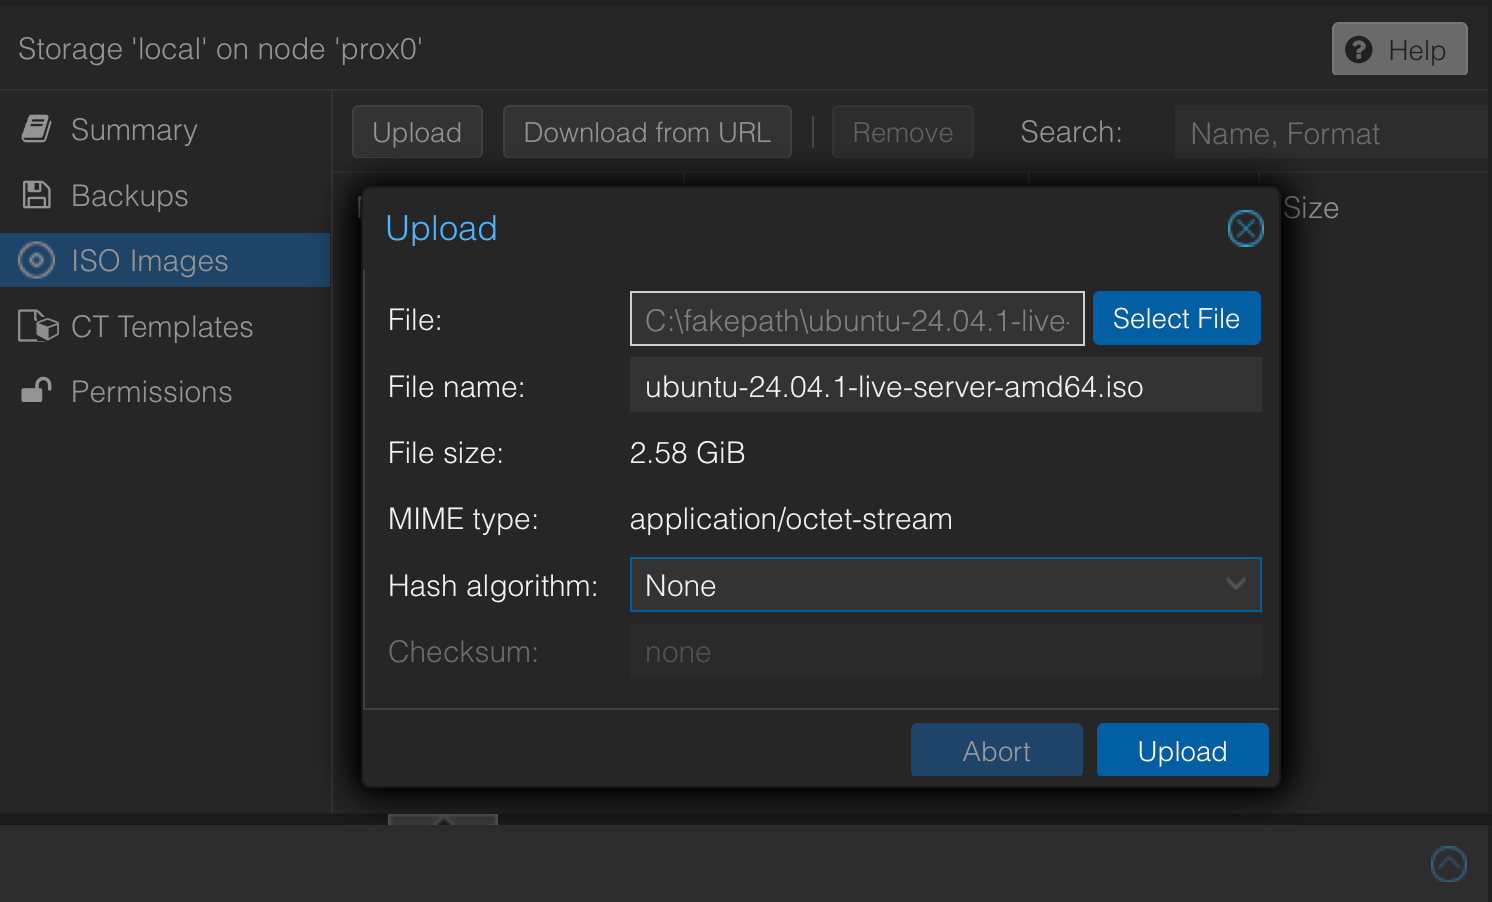
Verify the ISO's integrity using SHA256:
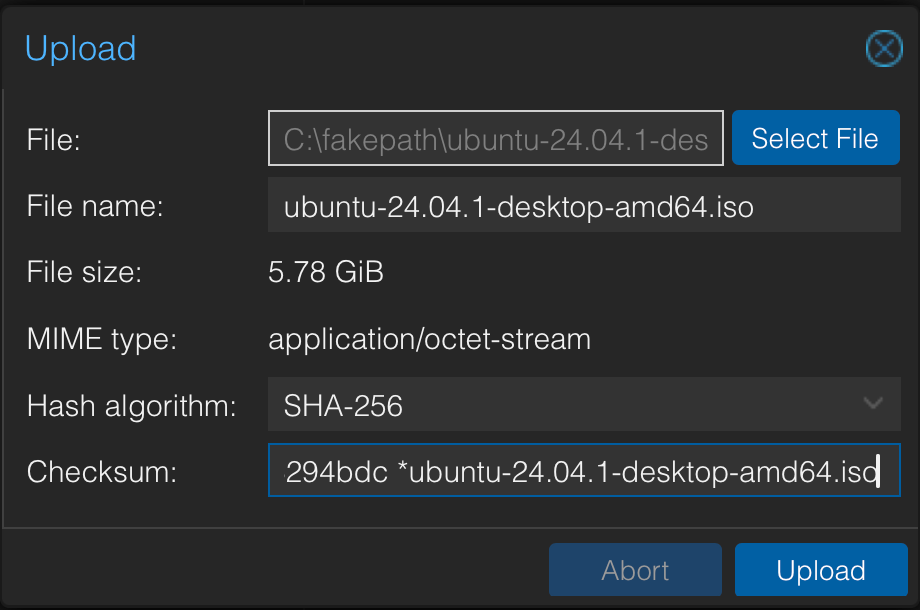
Commandline: sha256sum [path]
sha256sum C:\fakepath\ubuntu-24.04.1-desktop-amd64.iso
Compare this with the official checksums from Ubuntu's website to ensure the download is authentic.
https://releases.ubuntu.com/24.04.1/SHA256SUMS
Download Ubuntu Desktop ISO from URL:
wget https://releases.ubuntu.com/24.04.1/ubuntu-24.04.1-desktop-amd64.iso
Network Planning
Consider these networking aspects before beginning:
- Determine whether you'll use DHCP or static IP addressing
- Ensure your network has internet access for package updates
- Decide if you need any special network configurations (VLANs, bridges, etc.)
Resource Allocation Planning
Think through these resource allocation decisions:
- How much disk space you can dedicate to the VM
- Whether to use thin provisioning or fixed-size storage
- Which storage pool to use (local-lvm, ZFS, etc.)
- Whether to enable features like ballooning and NUMA
Optional but Recommended Preparation
- Back up your Proxmox configuration if this is your first VM
- Ensure your Proxmox system is up to date
- Check that you have sufficient backup space if you plan to take VM snapshots
- Consider whether you need to adjust your Proxmox storage configuration
Important Notes
- The installation process will require sustained network connectivity
- Ensure you have administrator access to your Proxmox system
- Have a plan for managing VM backups
- Consider whether you need to modify any Proxmox firewall rules
3. Creating the Virtual Machine in Proxmox
Creating a virtual machine for Ubuntu Desktop requires careful consideration of various settings to ensure optimal performance. Let's walk through the process step-by-step, understanding each important configuration choice along the way.
Starting the VM Creation Process
Begin by logging into your Proxmox web interface. In the top-right corner, click the "Create VM" button. This will open the VM creation wizard. We'll configure each tab thoughtfully to ensure the best experience for a desktop environment.
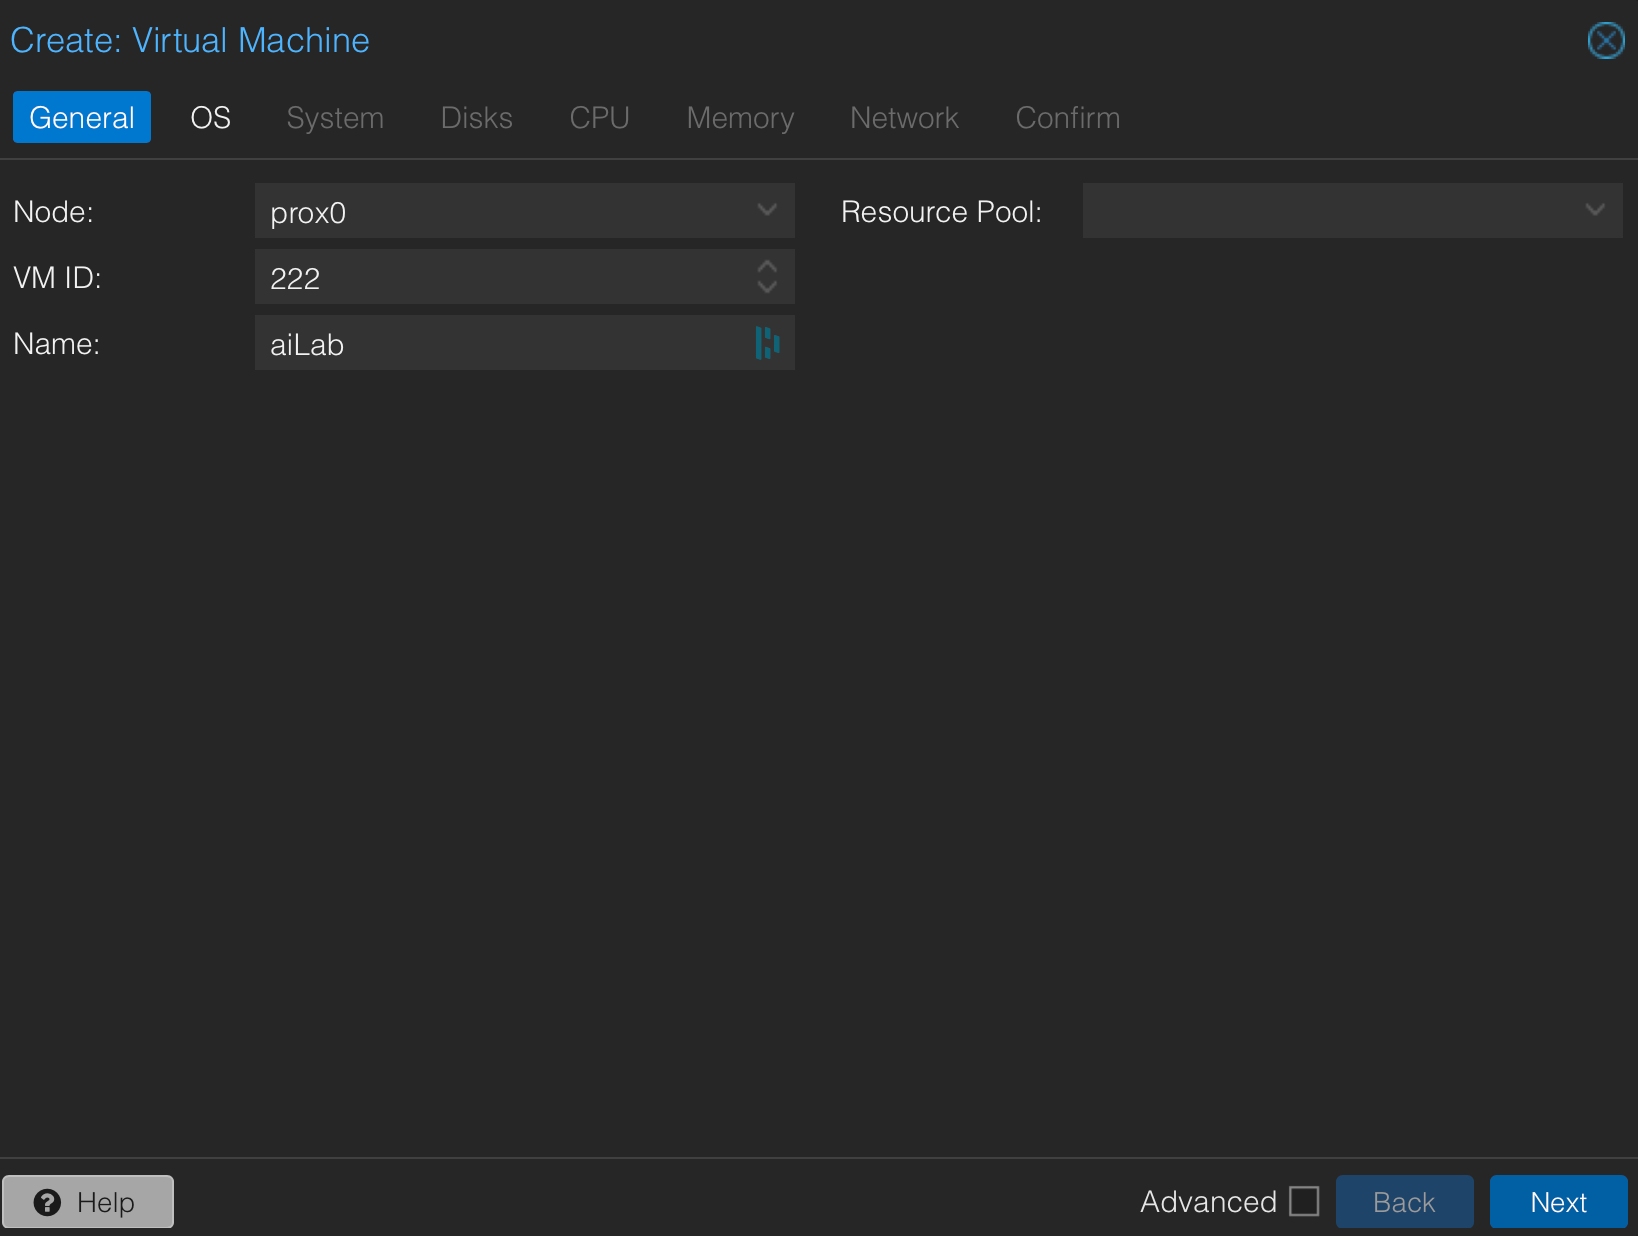
General Tab Settings
On the first tab, configure these essential settings:
Node: Select your Proxmox node if you have multiple nodes.
VM ID: Accept the default or choose a memorable number. The ID must be unique within your Proxmox cluster.
Name: Choose a descriptive name like "ubuntu-desktop-24.04". Using a naming convention that includes the OS and version helps with system organization.
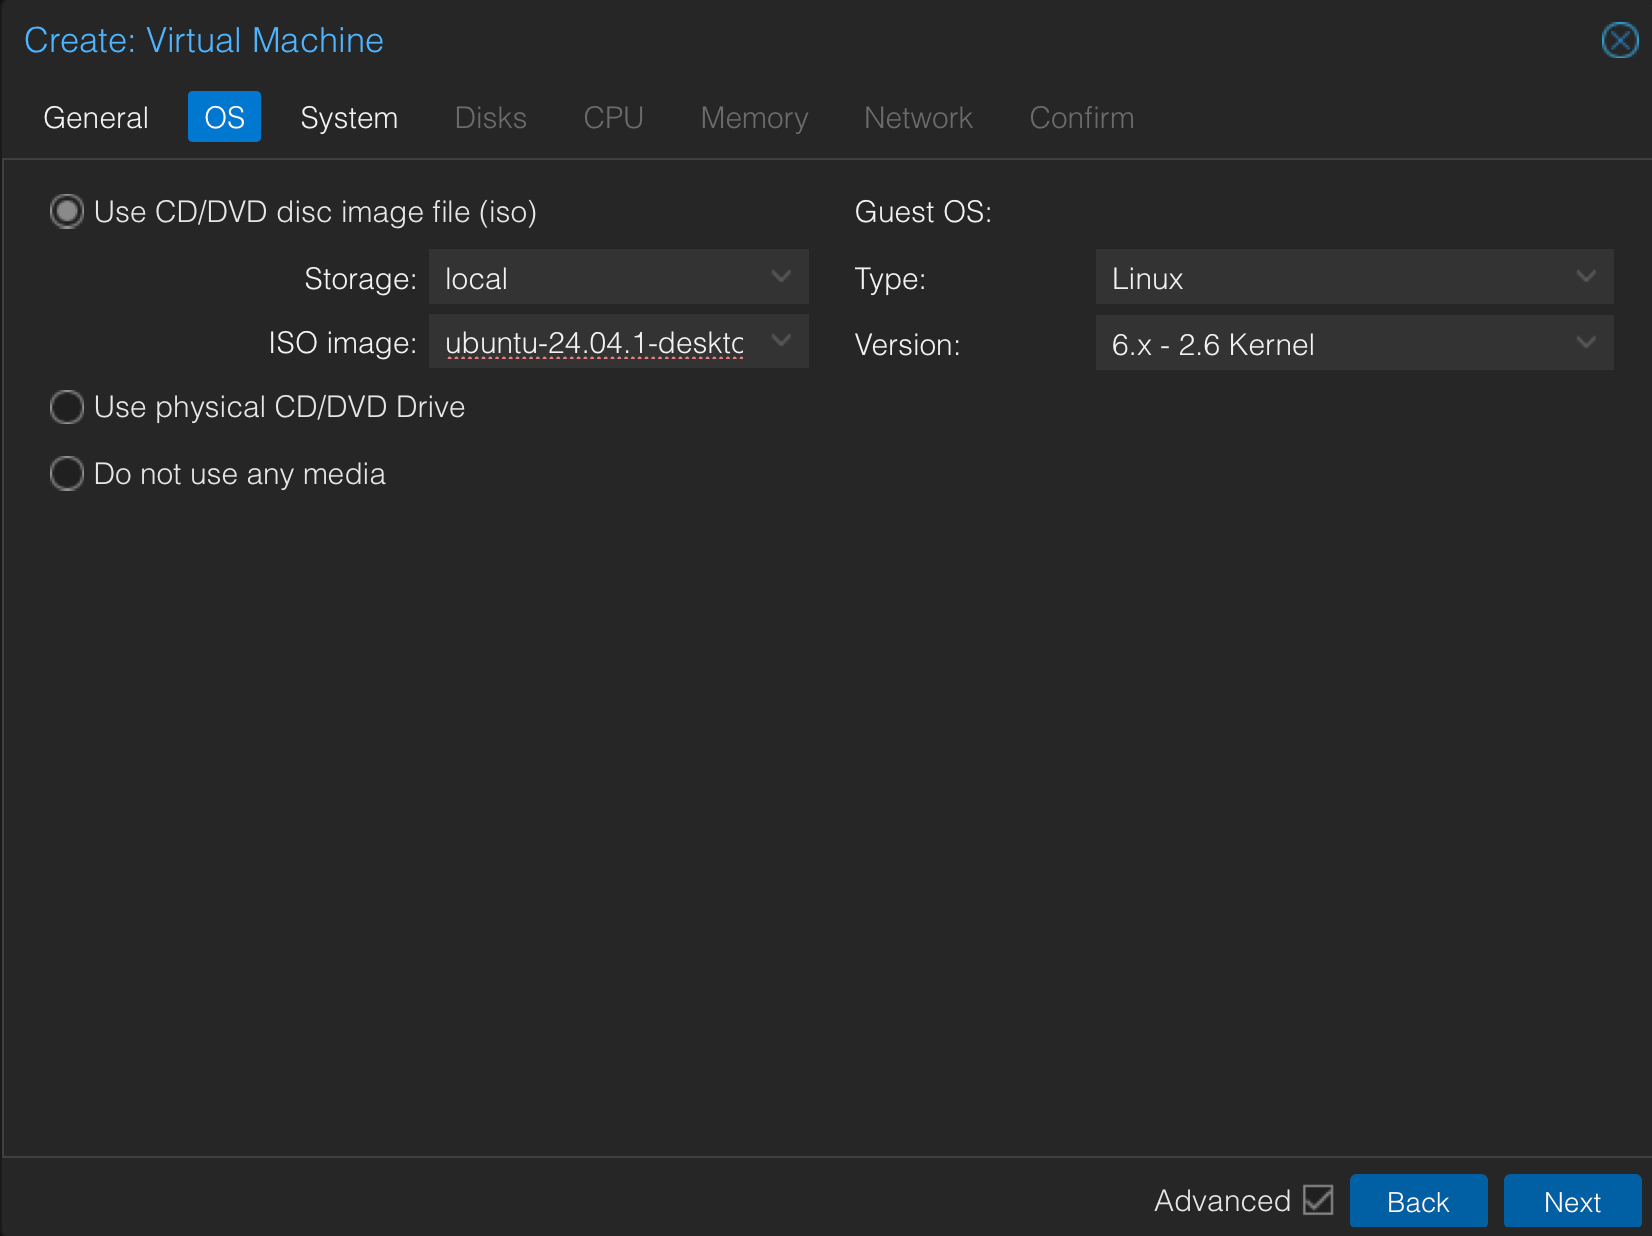
OS Tab Configuration
Select these settings for Ubuntu Desktop:
Guest OS Type: Choose "Linux"
Version: Select "6.x - 2.6 Kernel"
ISO Image: Select your uploaded ubuntu-24.04.1-desktop-amd64.iso
These selections ensure Proxmox applies the correct optimization flags for a Linux guest operating system.
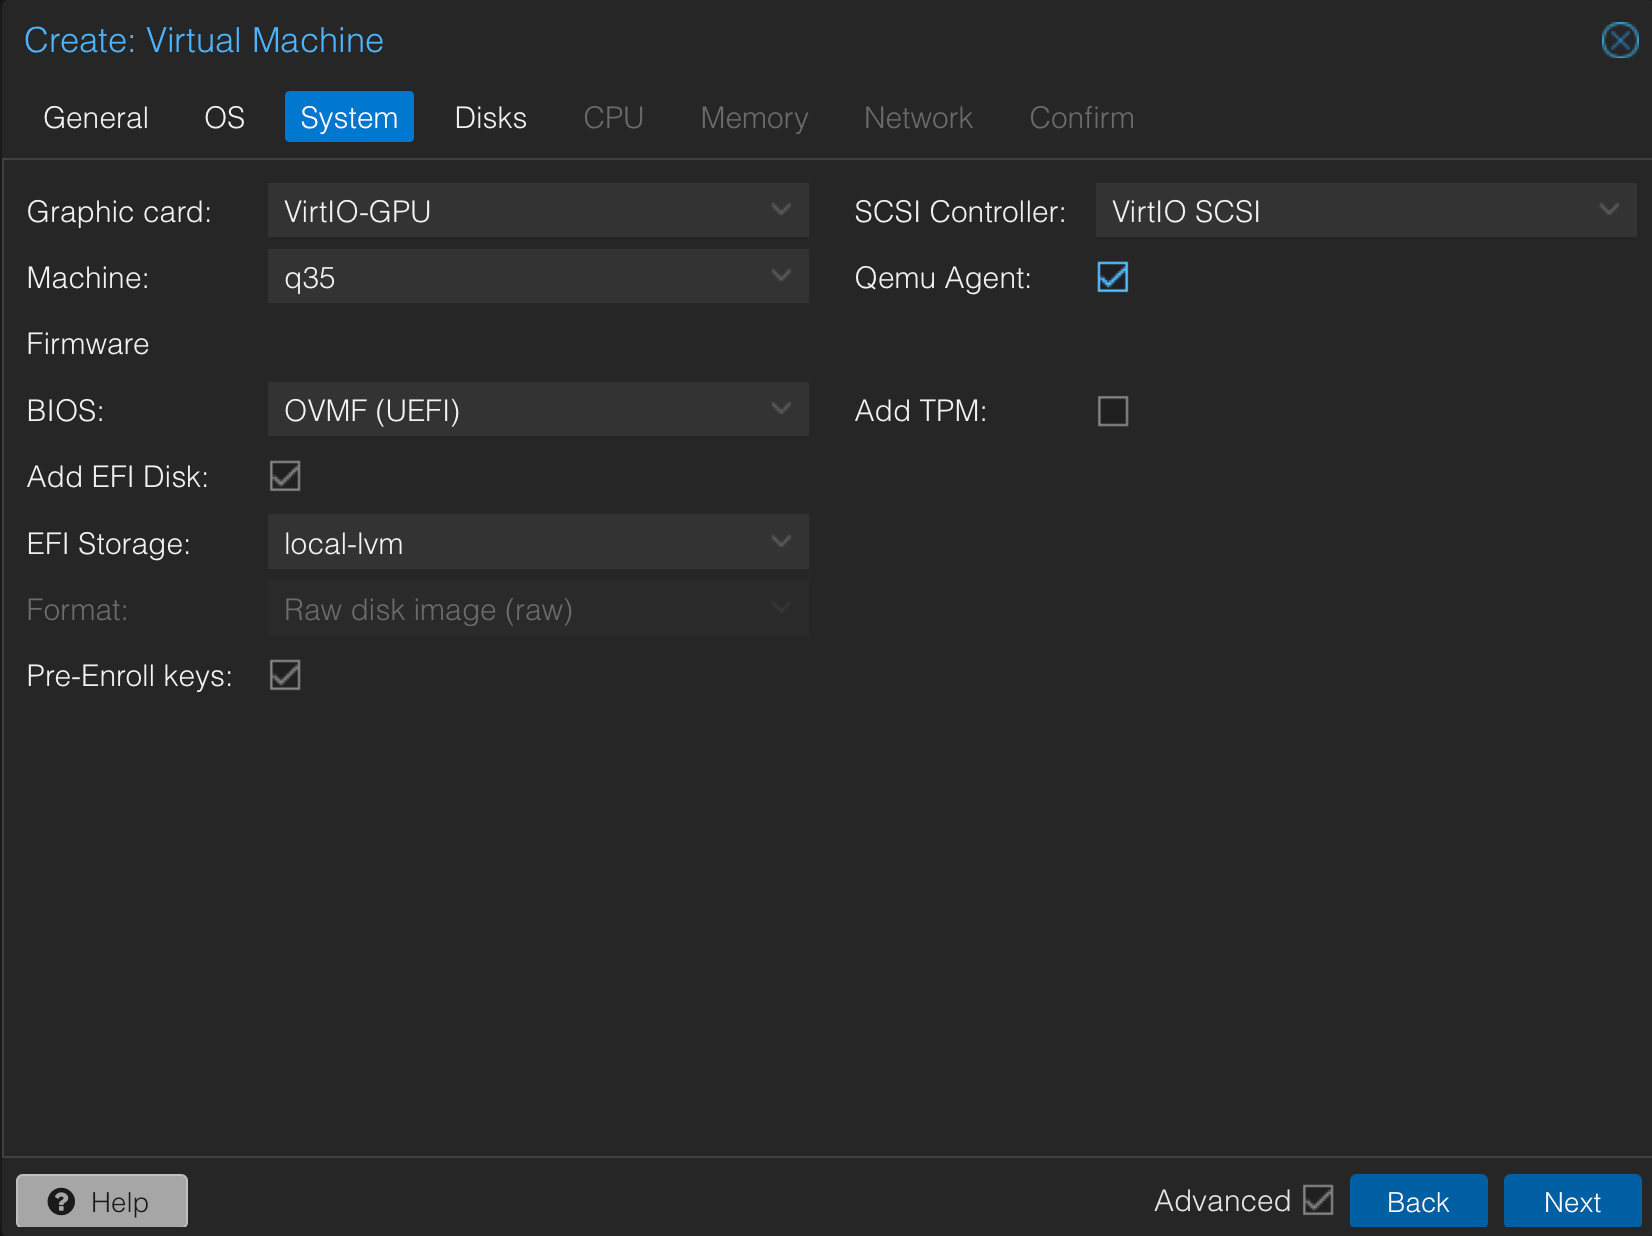
System Tab Settings
Configure these system settings for optimal desktop performance:
Graphics Card: Select "VirtIO-GPU"
Machine: Choose "q35" (this is the modern machine type recommended for desktop VMs)
BIOS: Select "OVMF (UEFI)" for better compatibility
Add EFI Disk: Enable this option
SCSI Controller: VirtIO SCSI
Qemu Agent: Enable this option
The VirtIO-GPU provides better graphics performance than other options, while UEFI boot offers modern features and better compatibility.
Disks Tab Configuration
Configure your virtual disk with these recommended settings:
Bus/Device: SCSI
Storage: Choose your preferred storage pool
Disk Size: Minimum 25GB (50GB recommended)
Format: zfspool (nvme)
Cache: Write back (offers better performance for desktop use)
Other options
Discard (Trim/Unmap)
• What it does: Enables TRIM/UNMAP commands, allowing the OS to inform the storage system about unused space.
• Use case: Useful if your ZFS pool is thin provisioned, as it can free up space when data is deleted.
• Recommendation: ✅ Enable it if you expect a lot of data deletion and rewriting (e.g., ML datasets). Otherwise, it’s not strictly necessary.
IO Thread
• What it does: Assigns a dedicated thread for disk I/O, improving performance on multi-core systems.
• Use case: Helps when using multiple disks and improving performance in high I/O workloads.
• Recommendation: ✅ Enable it since AI/ML workloads can be I/O heavy.

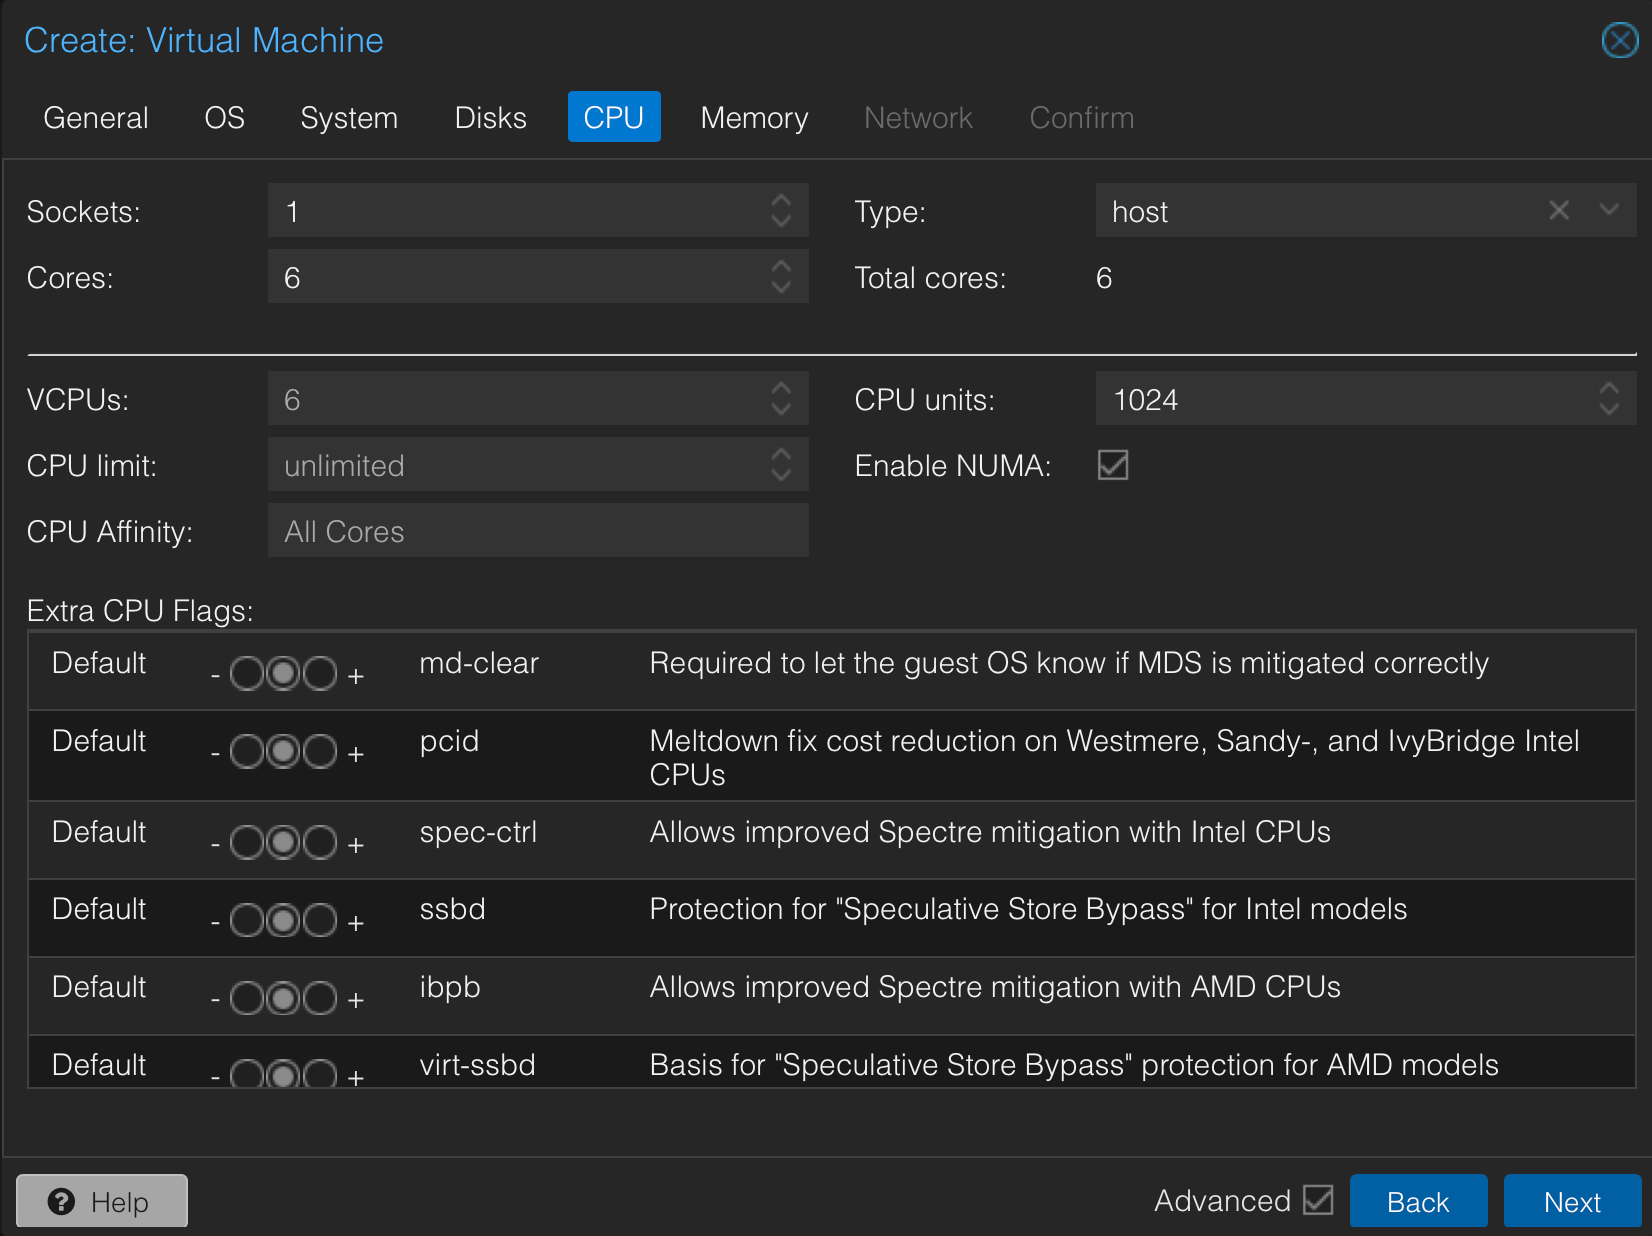
CPU Settings
Configure CPU for desktop workloads:
Sockets: 1 Cores: 2-4 (depending on your host's resources) Type: host
Using the "host" CPU type allows the VM to access all CPU features available on your Proxmox host, improving performance.
For my use case, I am going with the following with an i7 11700k intel CPU and will be using this vm for ML and AI workloads; feel free to copy my config below if you are also using an 11700k.
Configuring the CPU properly ensures optimal performance for your virtual machine. When setting up the CPU in Proxmox, consider the following options:
• Sockets: Set to 1 to avoid unnecessary NUMA complexities.
• Cores: Allocate 6+ cores for AI/ML workloads, depending on available resources.
• Type: Choose host to allow the VM to utilize all CPU features, including AVX512, which improves machine learning performance.
• vCPUs: Match the core count for efficient thread scheduling.
• CPU Limit: Set to 0 (unlimited) to allow full utilization of assigned cores.
• CPU Units: Use the default 1024 to maintain fair resource allocation if running multiple VMs.
• NUMA: Enable (checked). Helps with memory optimization, especially for multi-threaded workloads.
For AI/ML workloads, prioritizing higher core counts and enabling full CPU feature access significantly improves performance. If running multiple VMs, adjust core allocation to balance resources efficiently.
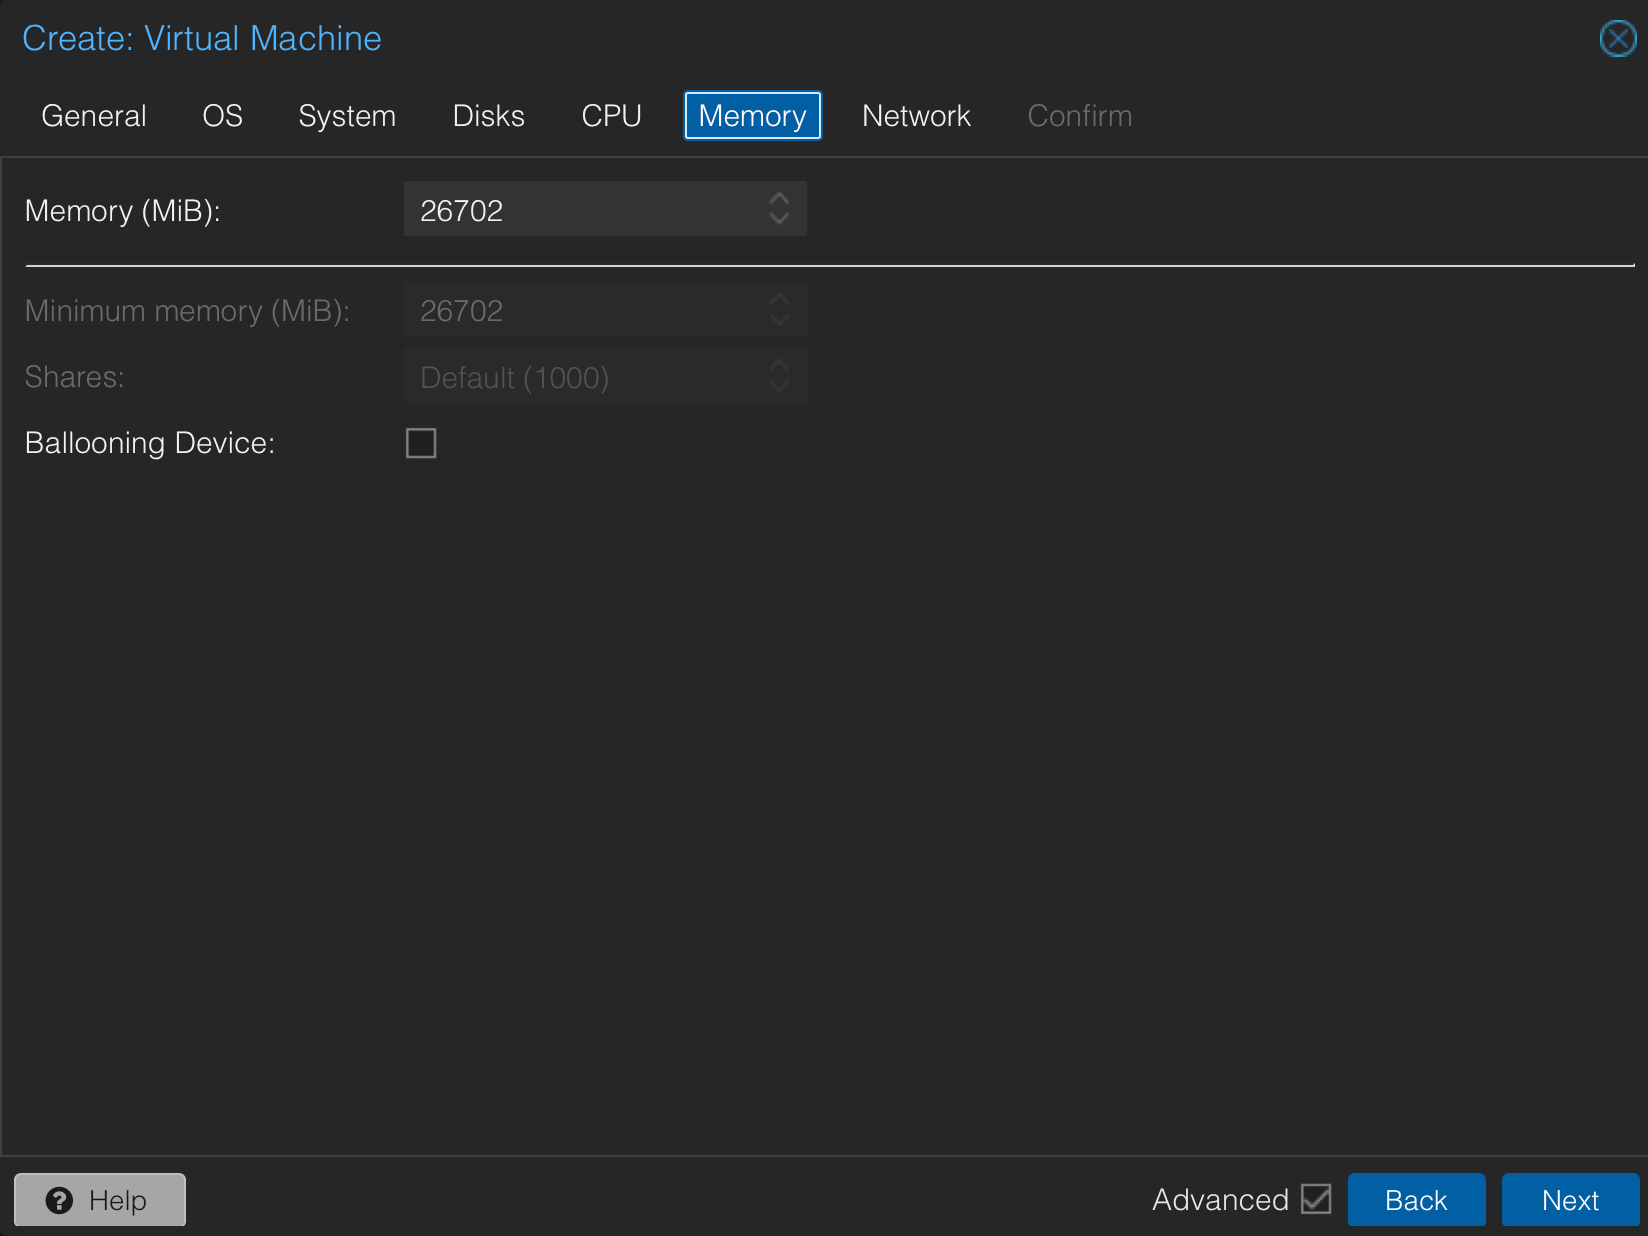
Memory Configuration
Set memory for smooth desktop operation:
Memory (MiB): 4096 minimum (8192 recommended)
Minimum Memory: Leave unchecked for desktop use
Ballooning Device: Enable this option
Ballooning allows dynamic memory allocation, useful when running multiple VMs, though desktop VMs typically need consistent memory allocation.
For my use case, I have gone with the following settings as I have 32GB RAM and a RTX 3090 in my host machine, if you have the same, feel free to use the settings below.
Proper memory allocation ensures smooth performance for AI/ML workloads and prevents bottlenecks. When configuring memory in Proxmox, consider the following:
• Allocated Memory: Set between 16GB - 24GB, leaving some RAM for the Proxmox host. Increase to 28GB if running heavy models. 28GB is just above 26702MiB so thats what I have chosen.
• Ballooning Device: Disable (unchecked). AI/ML workloads require stable, dedicated memory without dynamic adjustments.
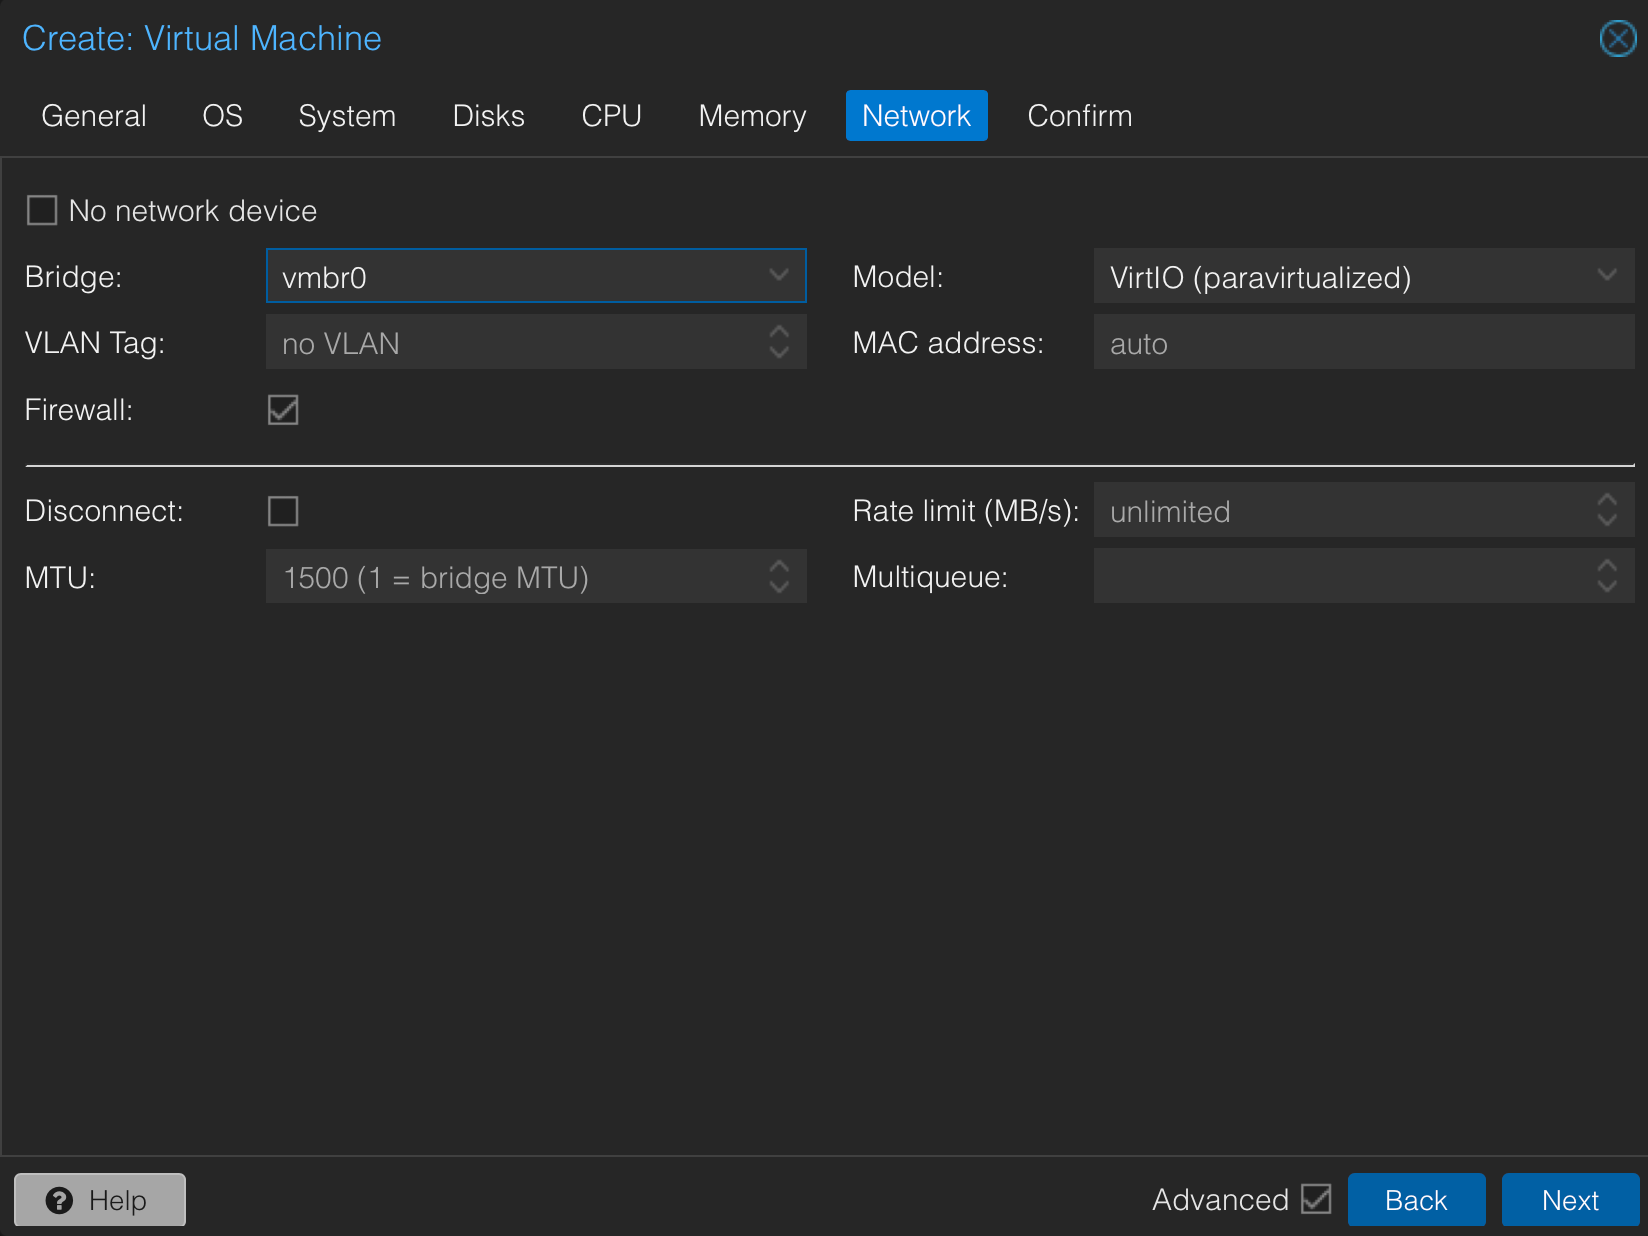
Network Tab Settings
Configure network access:
Bridge: Select your network bridge (usually vmbr0)
Model: VirtIO (offers the best performance)
MAC Address: Auto-generated is fine unless you have specific requirements
VirtIO networking provides near-native performance for network operations.
Confirmation
Review your settings before clicking Finish. Remember, while most settings can be changed later, some (like the machine type and UEFI settings) are better set correctly from the start.
Important Notes
- Keep the VM ID and name handy - you'll need them for future management
- The VirtIO drivers will be automatically available in Ubuntu 24.04
- These settings prioritize desktop performance over resource conservation
- Consider taking a backup or snapshot after initial setup
If you try the next step and your display goes black, you will need to ensure your GPU is being passed through correctly to your VM.
Follow this guide before continuing.
The next steps are [Under Construction]
4. Initial VM Boot and Ubuntu Installation
Now that we've created our virtual machine with optimal settings, we'll walk through the process of booting it for the first time and installing Ubuntu Desktop. This process combines standard Ubuntu installation steps with some special considerations for running in a virtual environment.
First Boot Process
Start your VM from the Proxmox interface by selecting your VM and clicking "Start". Then click "Console" to access the VM's display. You should see the Ubuntu boot menu within a few moments.
When the GRUB boot menu appears, choose:
- "Try or Install Ubuntu"
Follow the instructions, they are pretty self explanatory
Important VM Considerations:
- The time zone setting is particularly important for a VM to ensure proper time synchronization with your host system.
- Choose a strong password, especially if the VM will be accessible over the network
- The computer name should be unique within your network
- Consider using a naming convention that identifies this as a VM
Installation Process
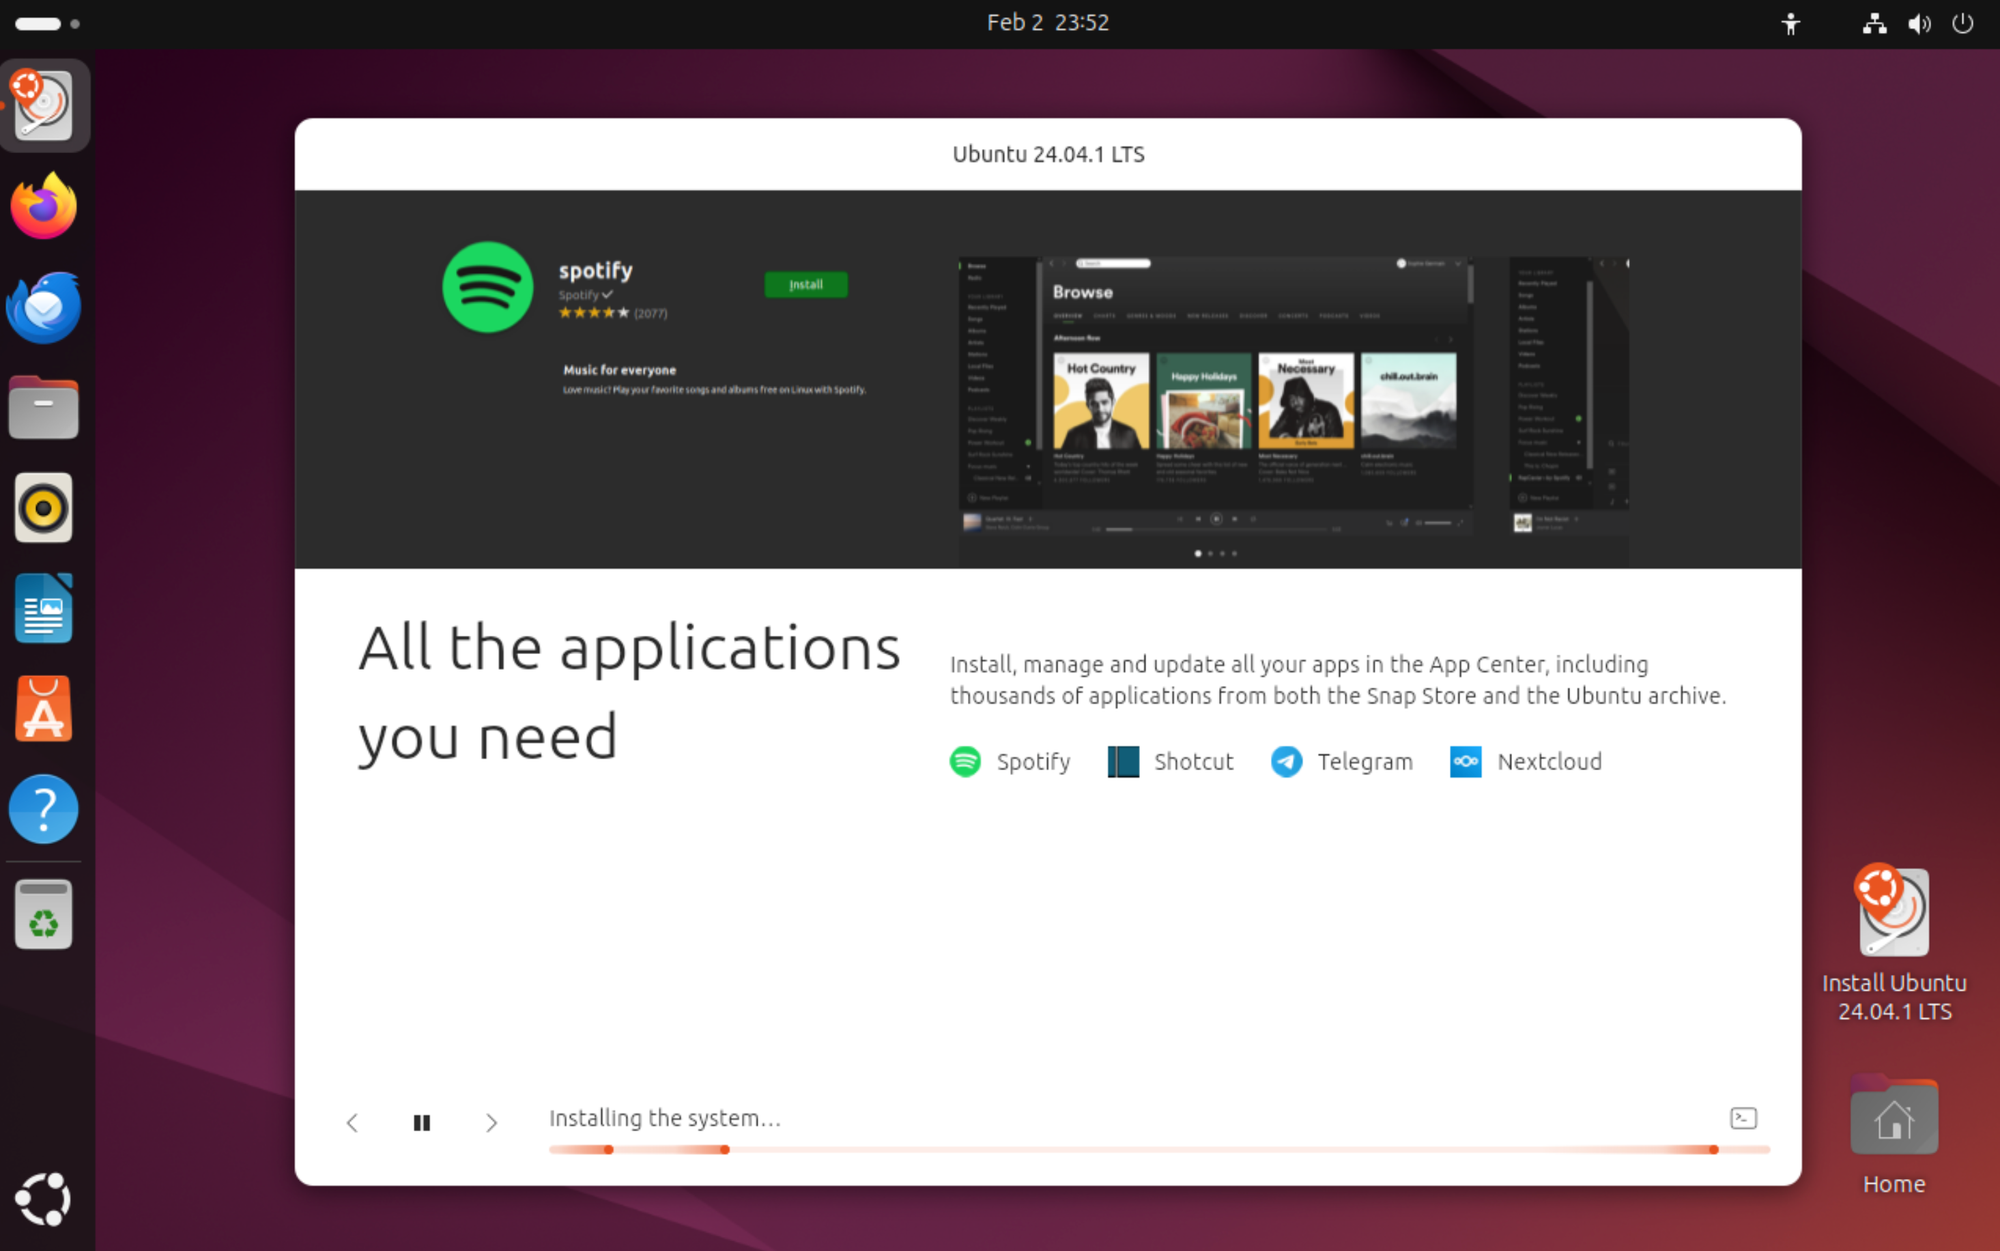
During the installation:
- The system will copy files from the installation media
- Download and install updates if you're connected to the internet
- Configure system settings
- Install bootloader
This process typically takes 15-20 minutes, depending on your system's performance and network speed.
First Boot Preparation
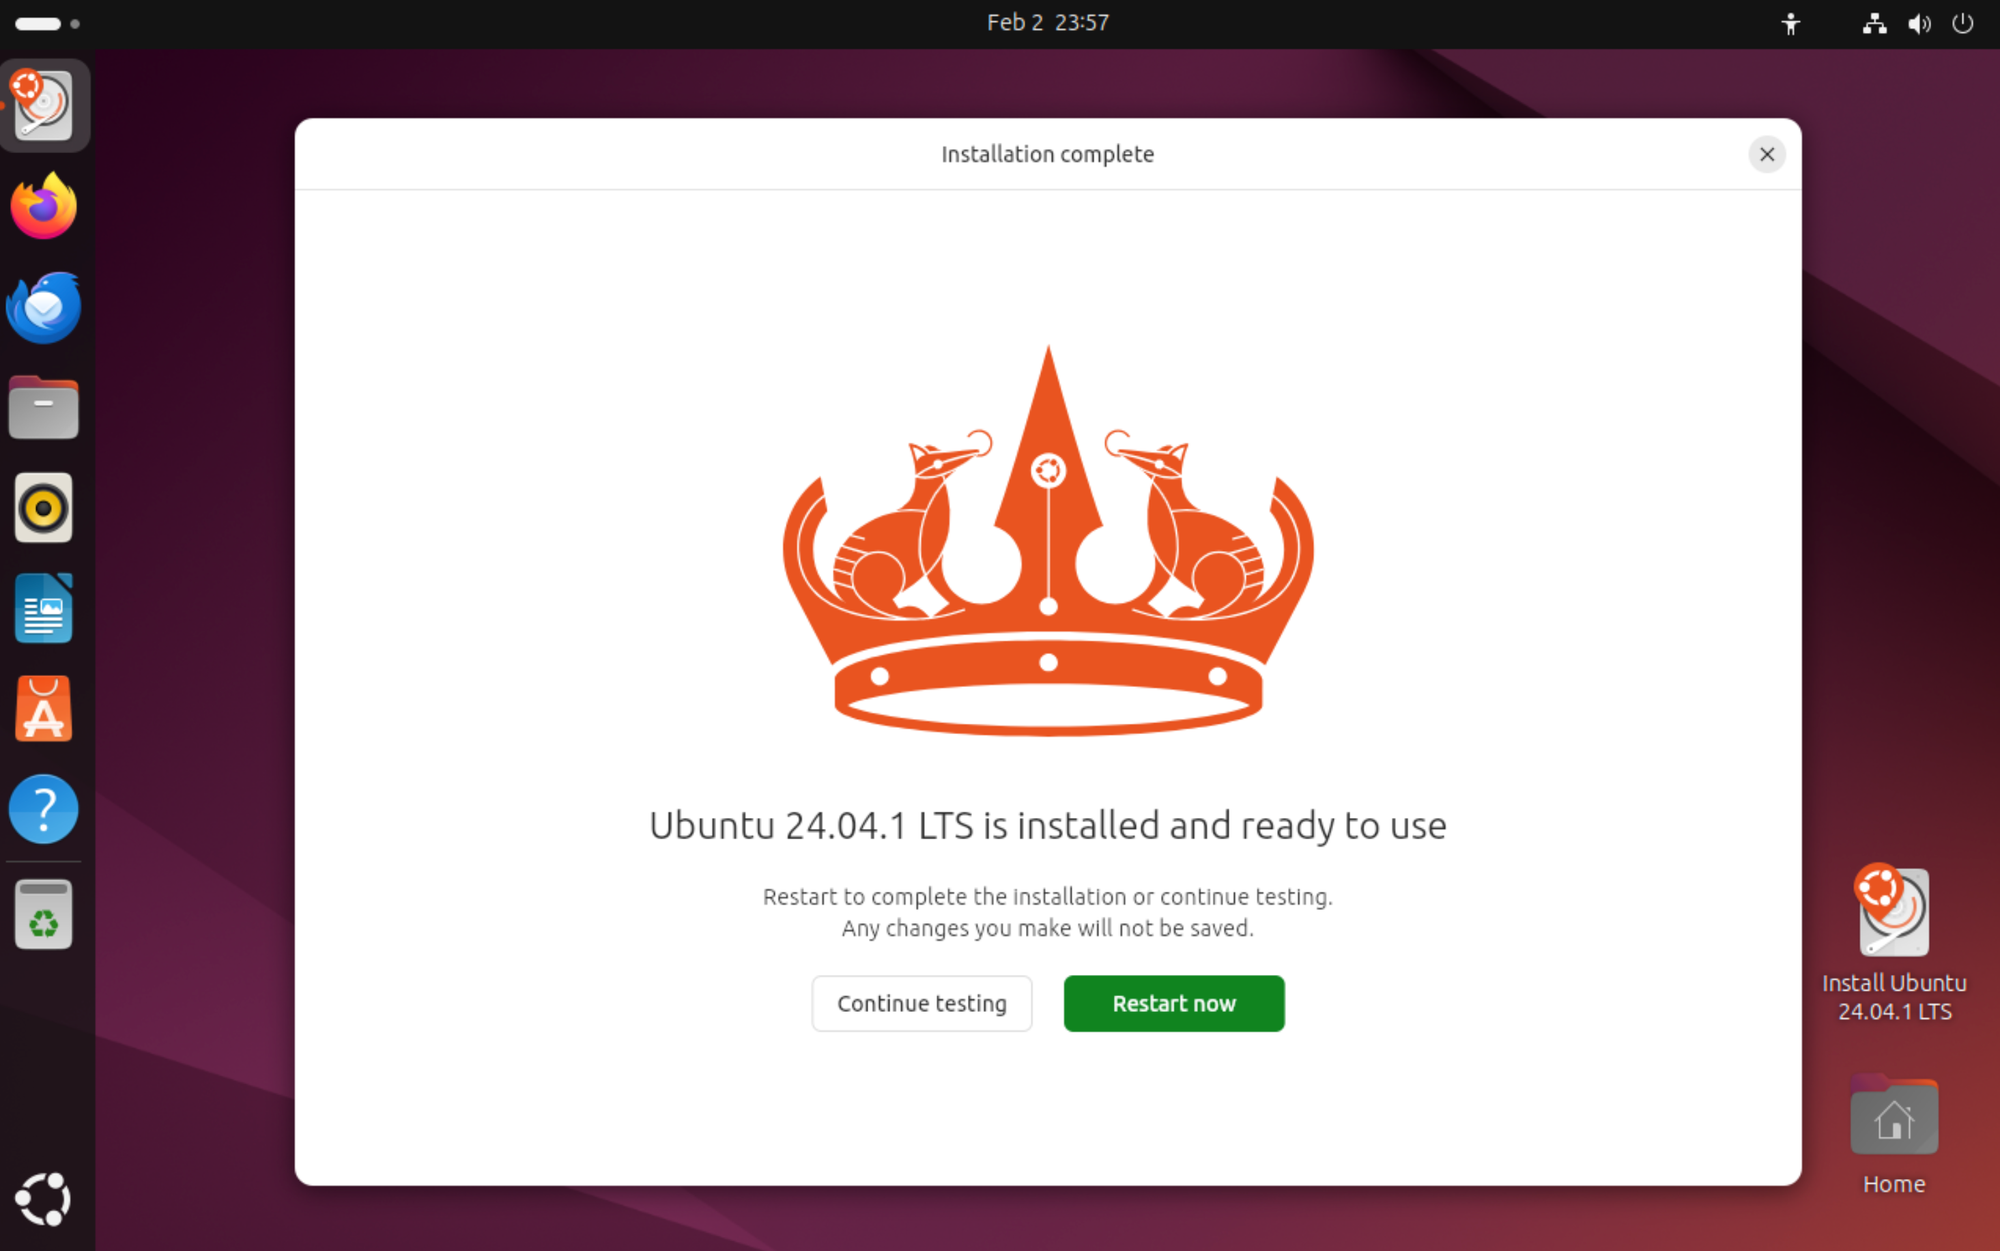
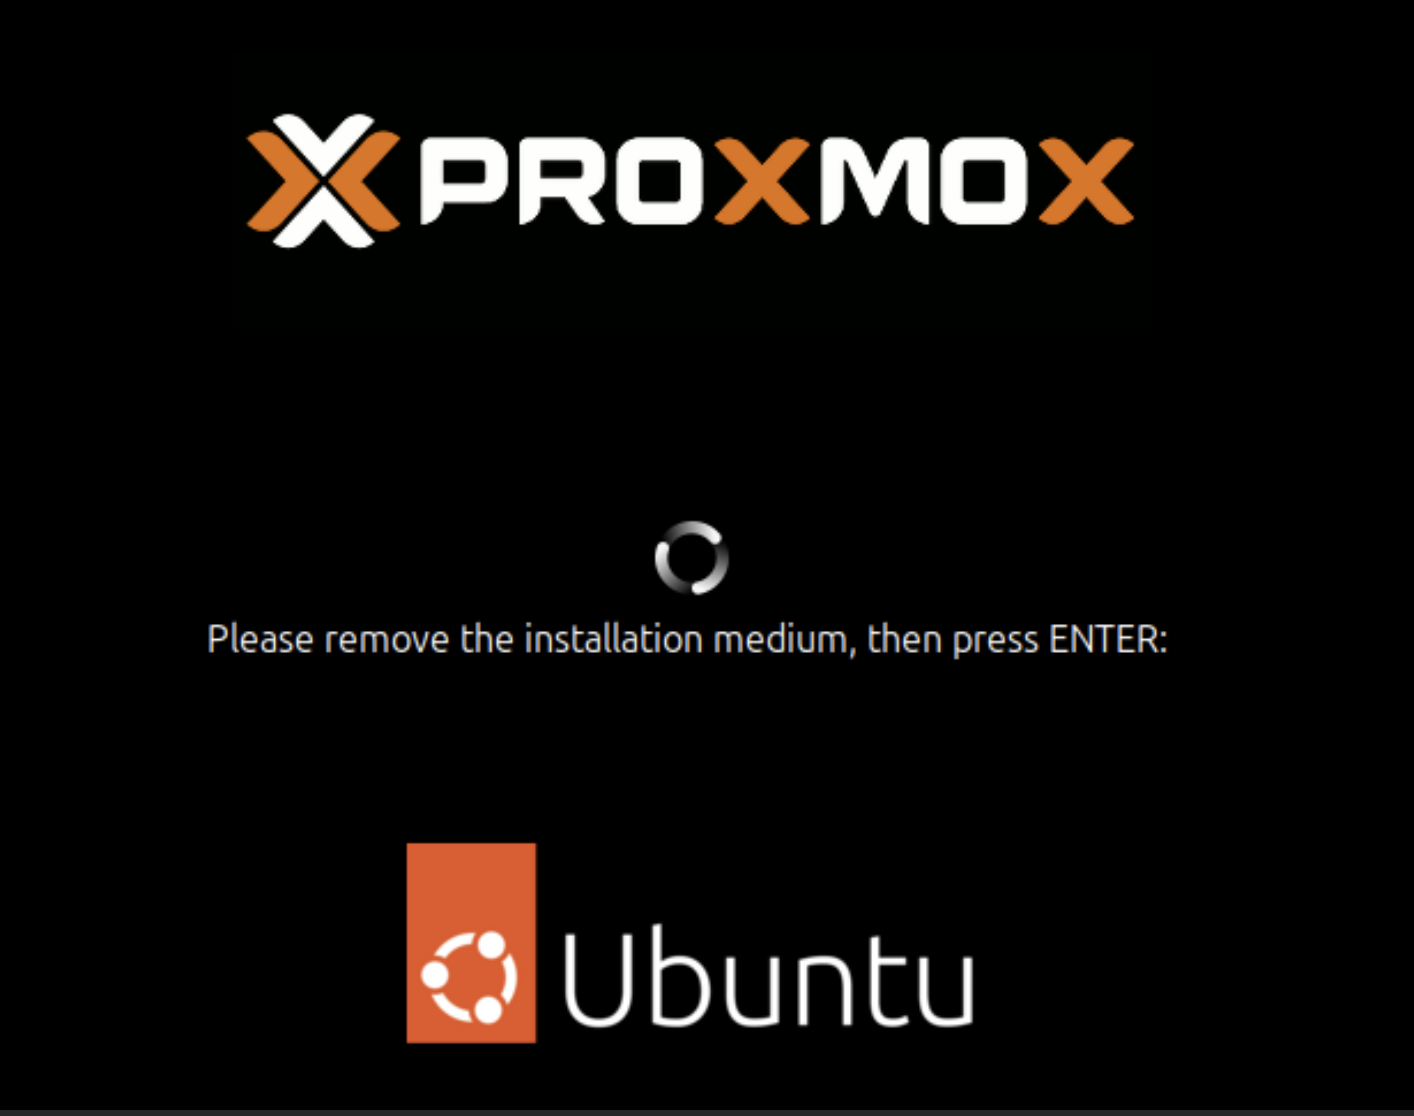
Once the installation completes, you'll be prompted to restart.
- Click "Restart Now"
- Wait for the shutdown message
- The VM may appear to hang with a message about removing installation media
In the Proxmox interface, go to the VM's Hardware tab
Remove the ISO from the CD/DVD drive
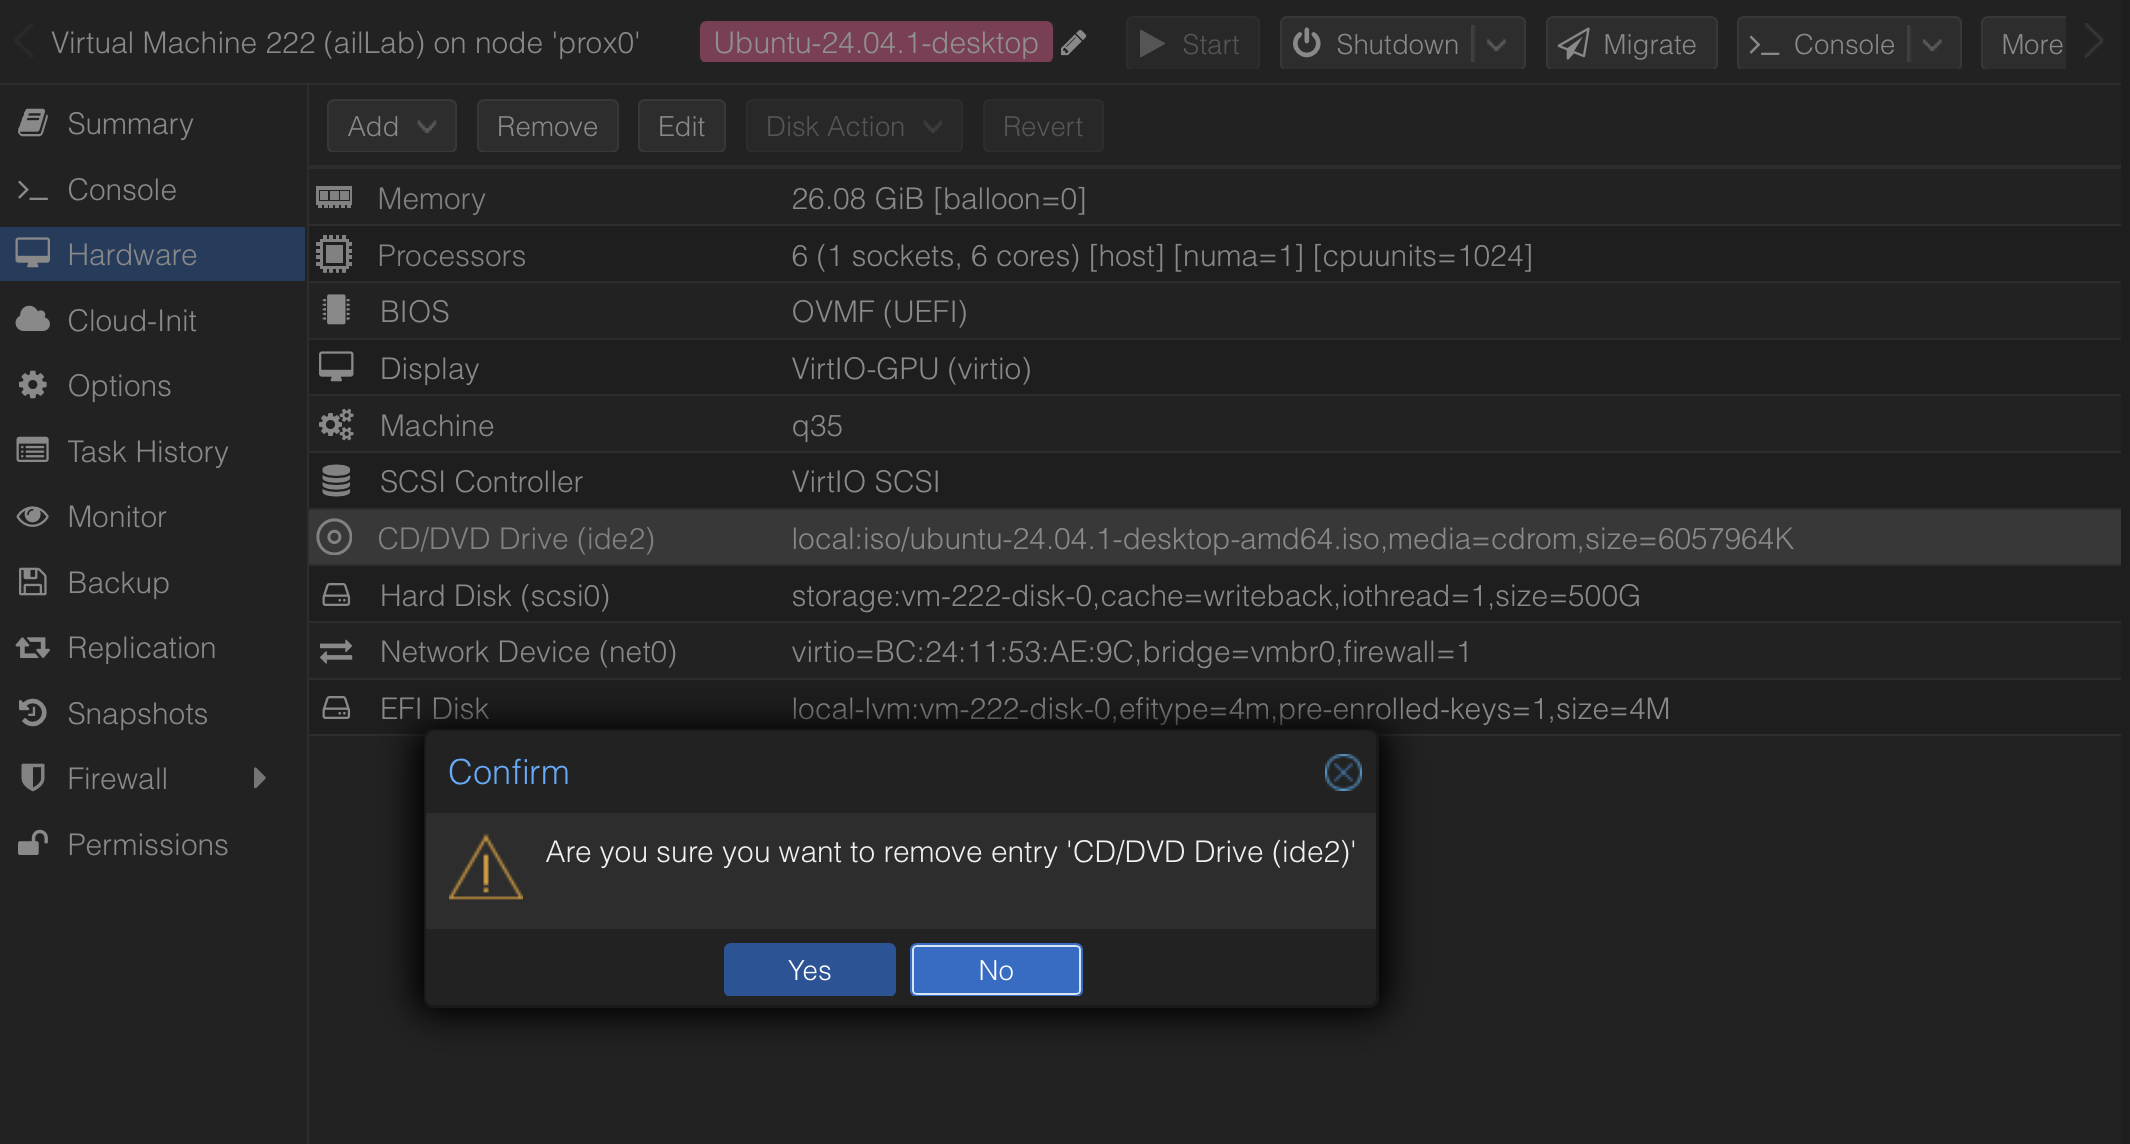
Then go back to the VM and press Enter
Click "Reset" in the Proxmox interface
First Login
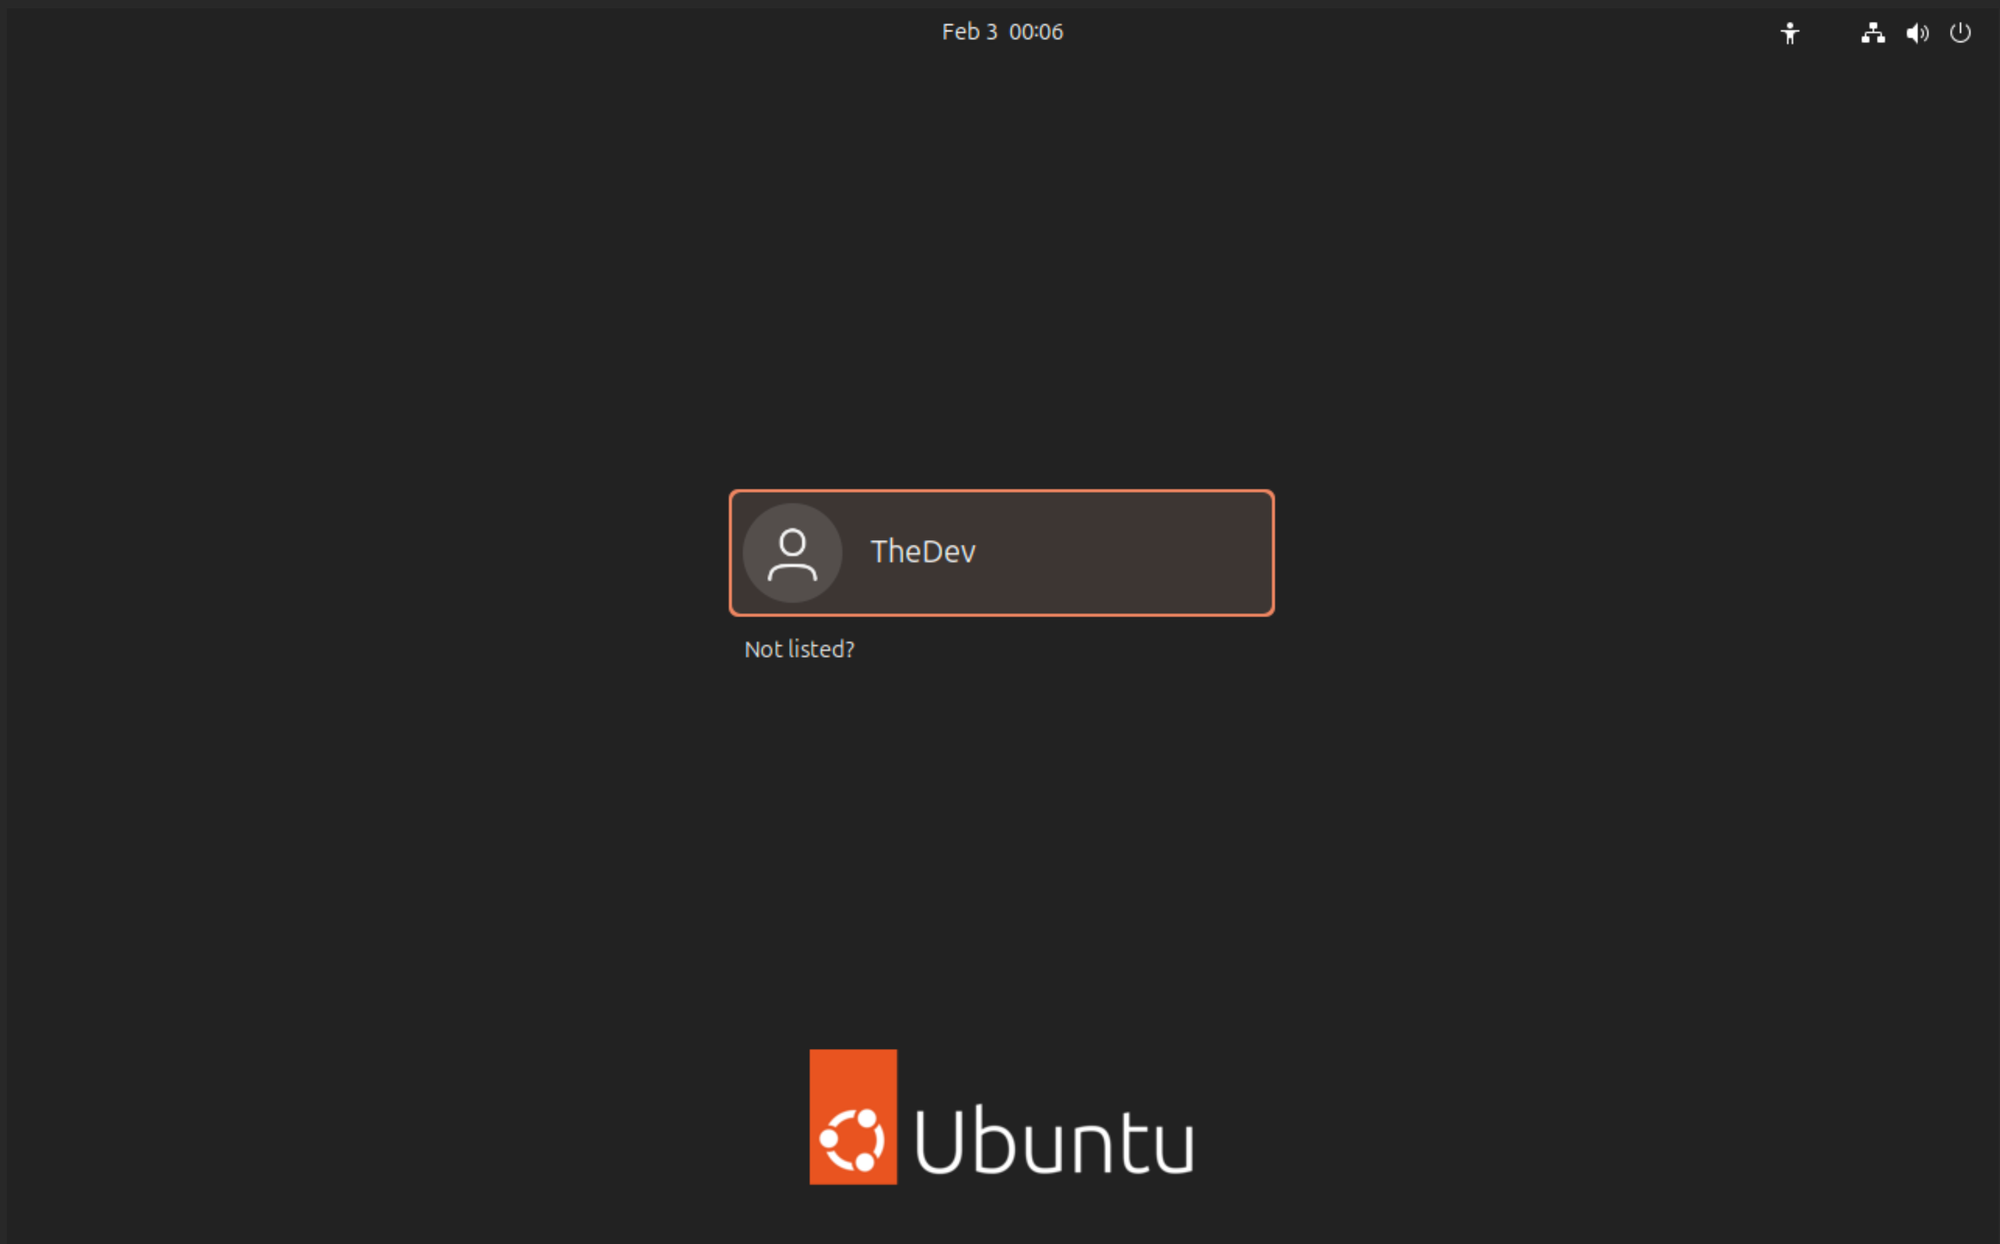
After the restart:
- Wait for the GRUB bootloader and system boot
- You'll see the Ubuntu login screen
- Log in with the user account you created
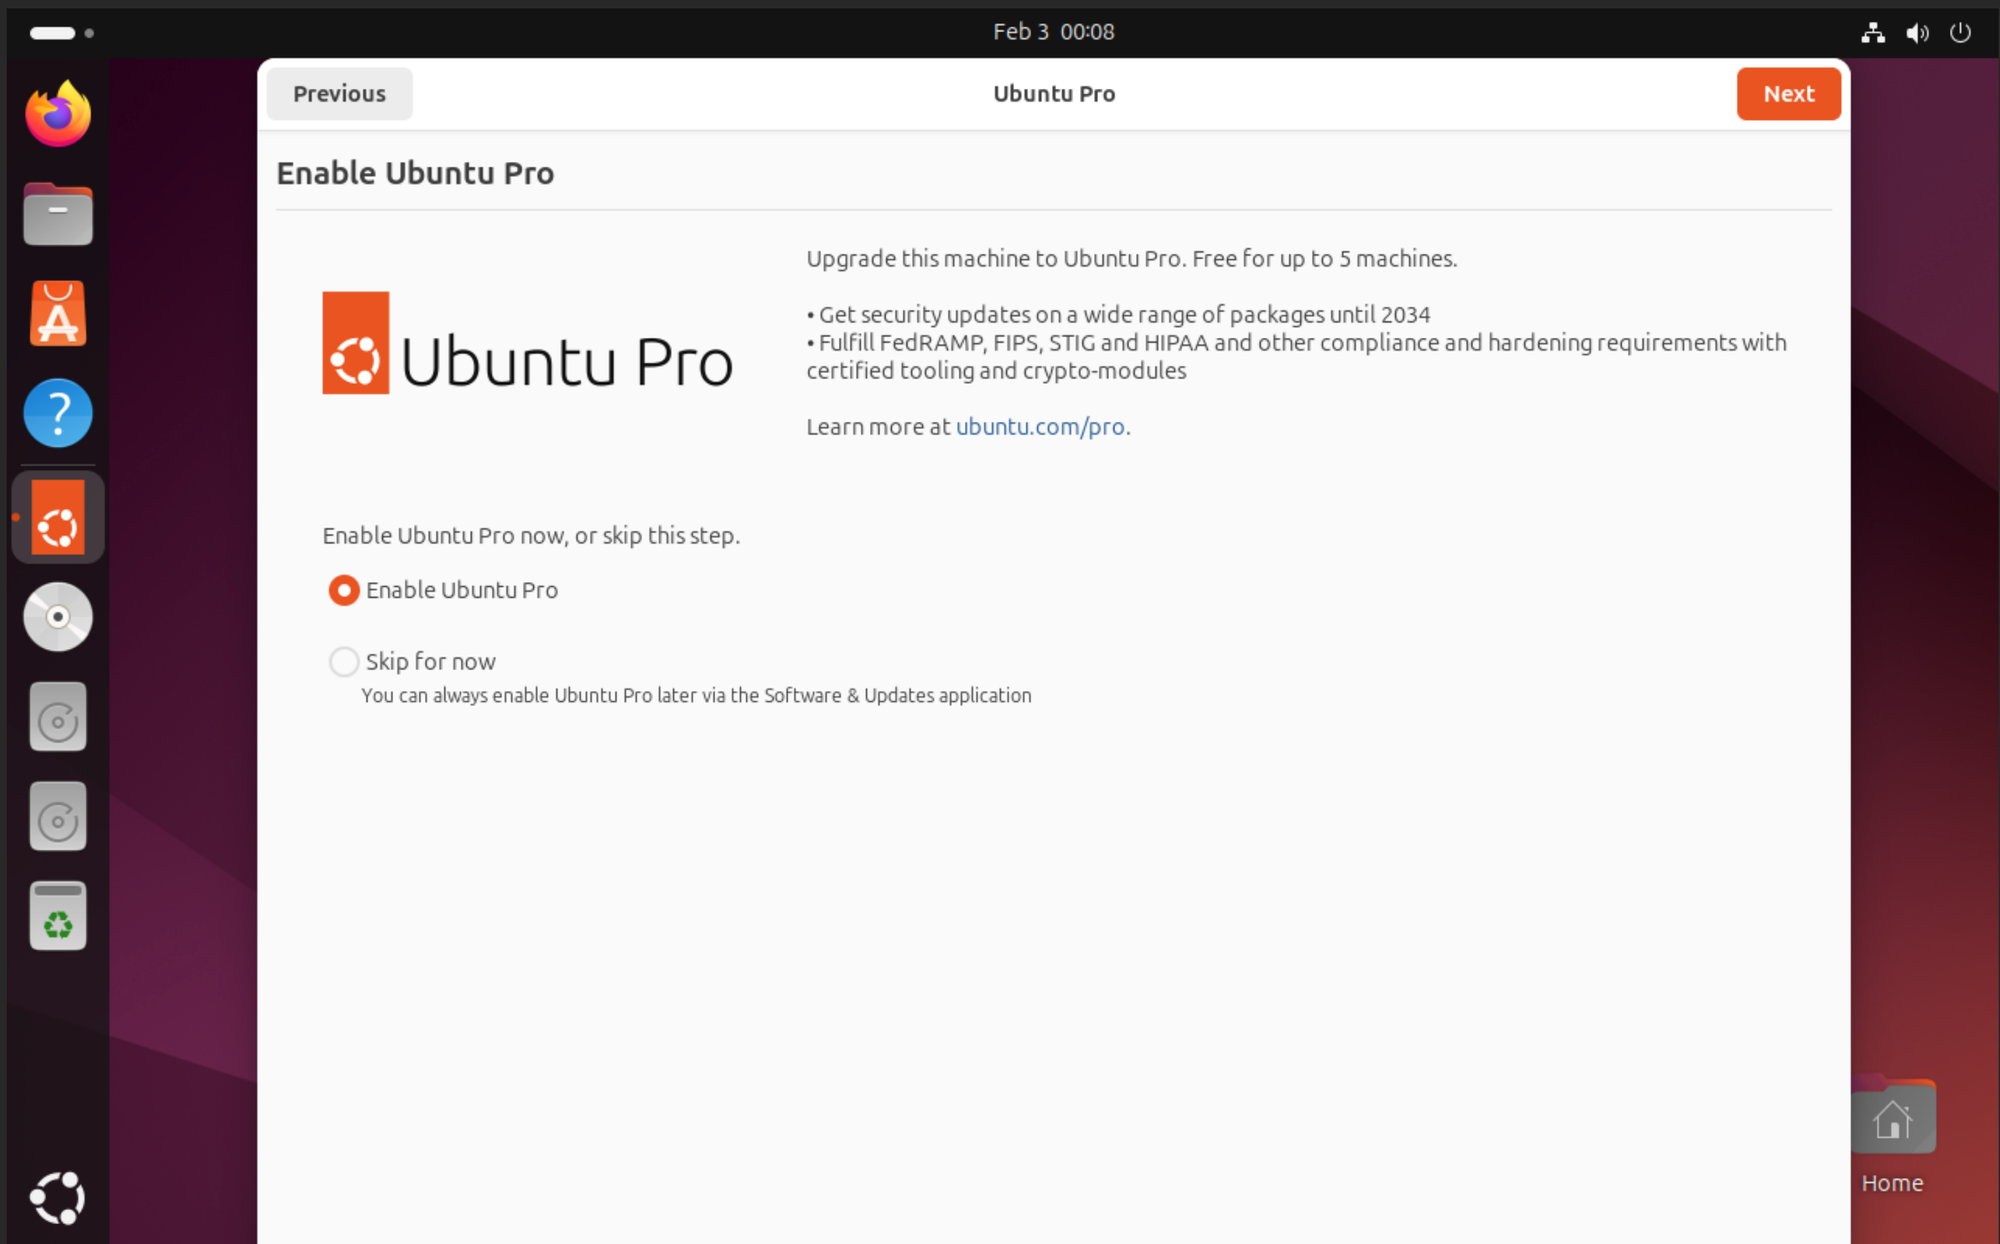
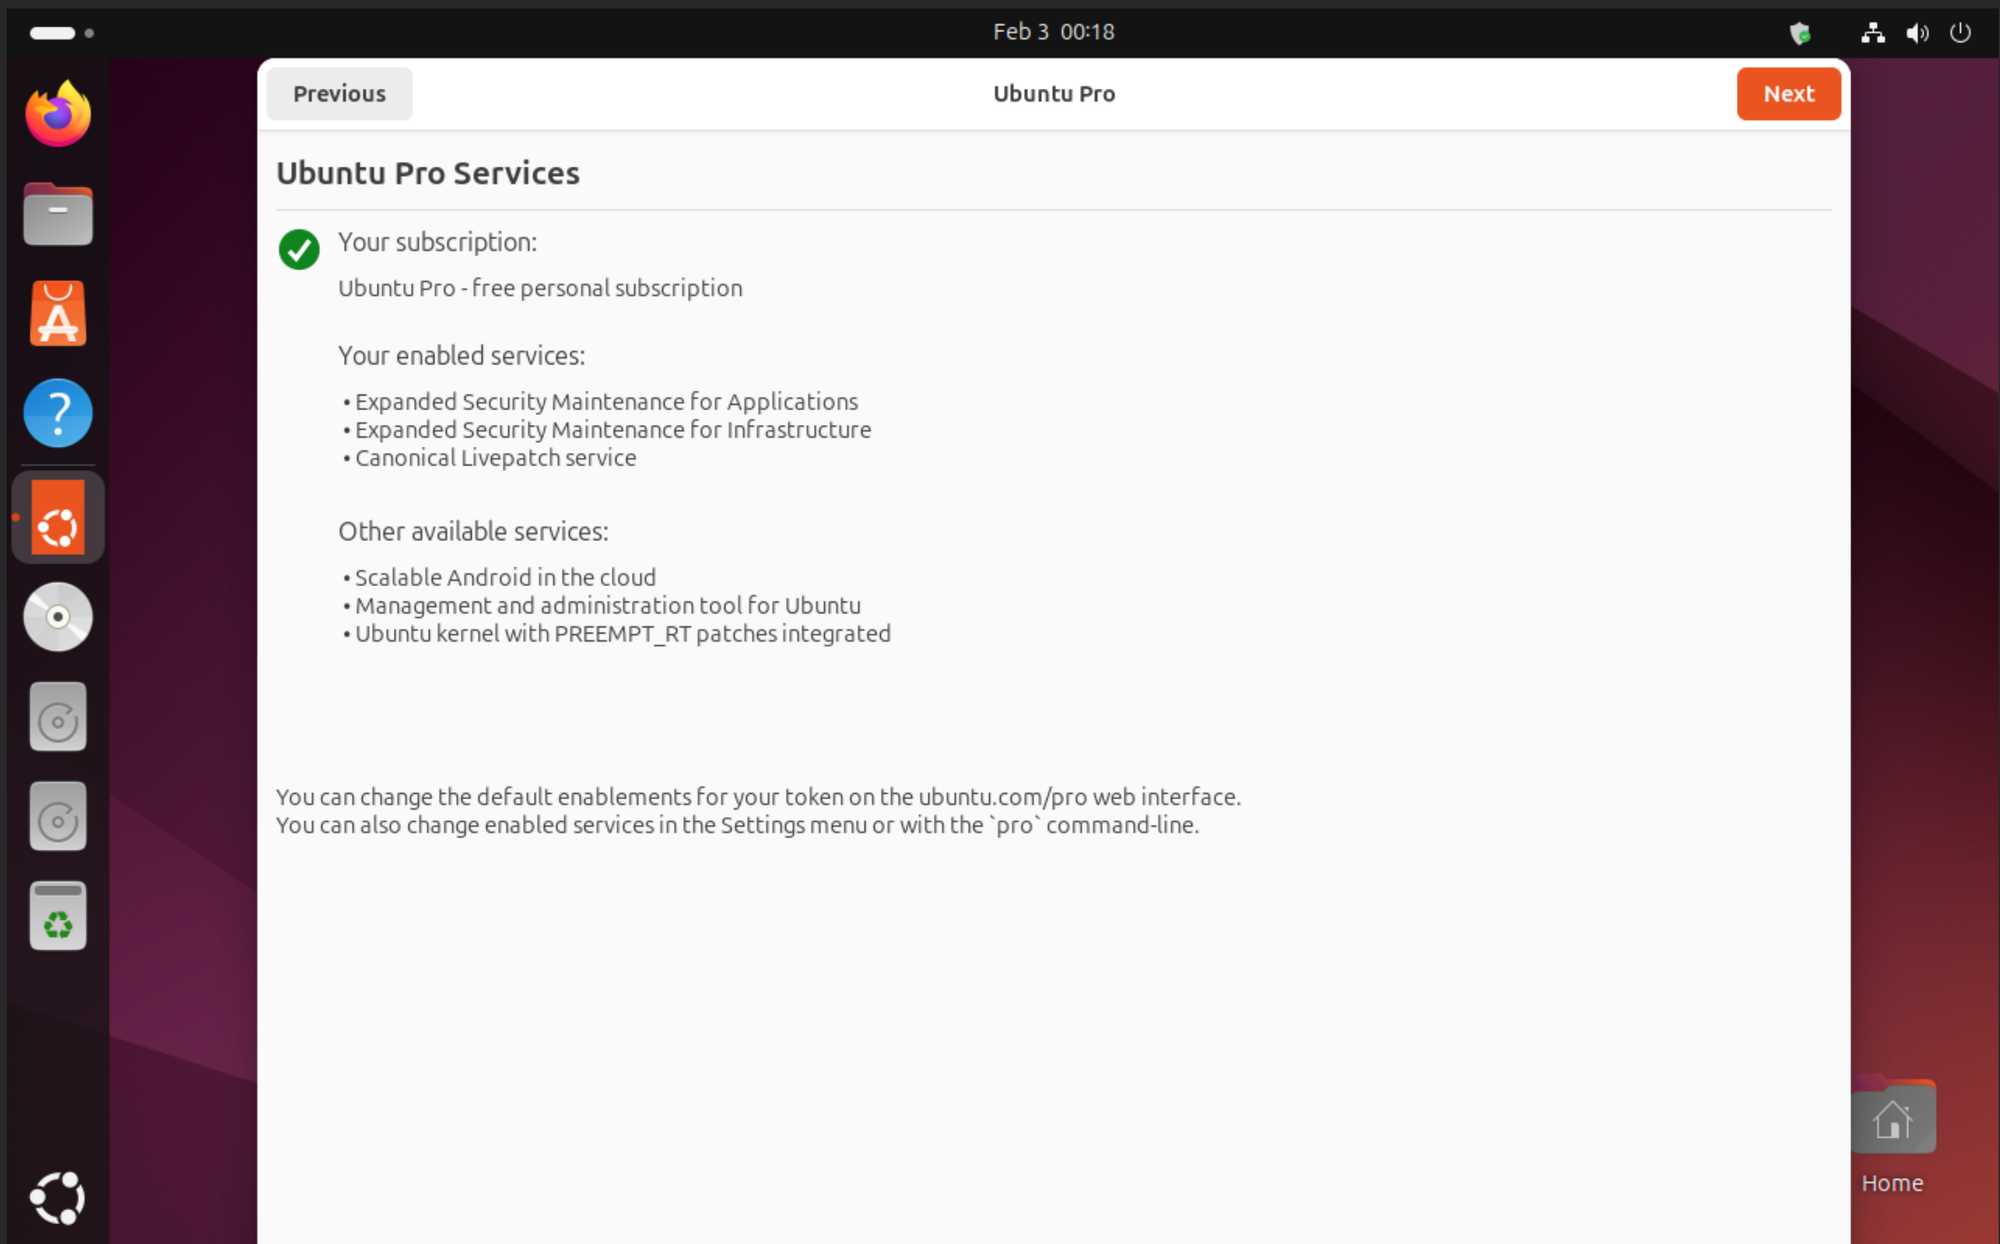
- Ubuntu will present its initial setup wizard
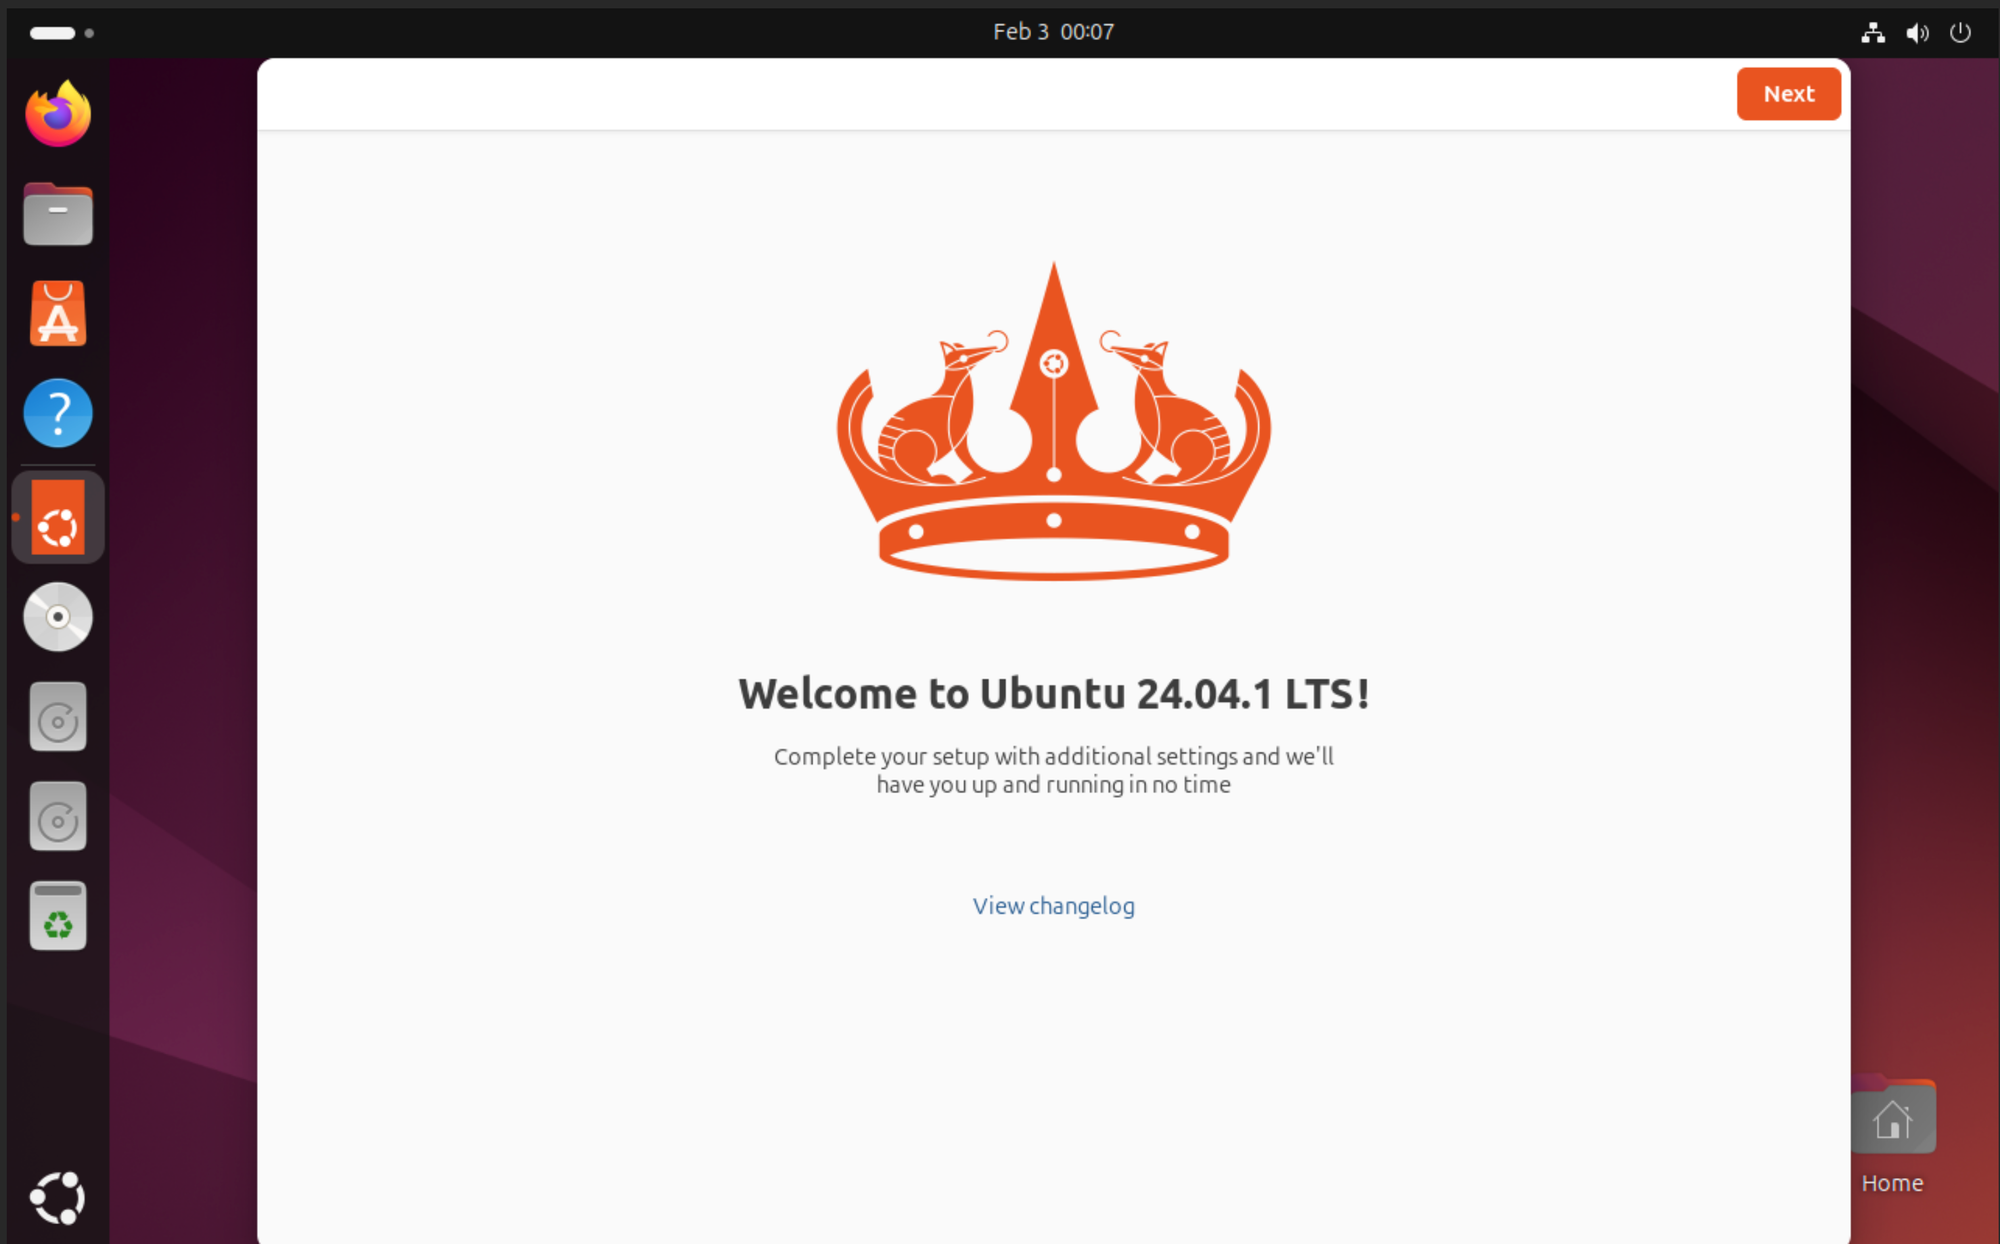
Enable Ubuntu Pro if you can, Its free for up to 5 machines at the time of writing.
Everything after here is a DRAFT. ignore or use at your own risk
5. System Configuration
After successfully installing Ubuntu Desktop in your Proxmox VM, several important configuration steps will ensure optimal performance and functionality. Let's go through each essential optimization systematically.
Display Configuration
To optimize your display settings for VM use, we'll configure the VirtIO display driver. First, verify that the system recognizes the VirtIO graphics:
lspci | grep VGA
Network Configuration
While DHCP works well for most setups, you might want to configure a static IP address for server-like functionality. To set a static IP:
- Click the network icon in the top bar
- Select "Settings"
- Click on your network connection
- Switch to the "IPv4" tab
- Change from "Automatic (DHCP)" to "Manual"
- Enter your desired IP configuration
Keeping your system updated is crucial for optimal performance and security. Run a full system update:
sudo apt update
sudo apt upgrade -y
sudo apt dist-upgrade -y
After updates complete, restart your system to ensure all changes take effect:
sudo systemctl reboot
6. Post-Installation Optimization
After completing the basic system configuration, we can further optimize your Ubuntu Desktop VM for improved performance, better resource utilization, and enhanced user experience. These optimizations build upon our previous configurations to create a more responsive and efficient virtual desktop environment.
Desktop Environment Optimization
Install preload to improve application startup times:
sudo apt install preload
Preload learns from your usage patterns and anticipates which applications you're likely to start, loading their libraries into memory proactively.
Resource Monitoring Setup
Install performance monitoring tools:
sudo apt install htop iotop nethogs
These tools help you:
- Monitor CPU and memory usage with htop
- Track disk I/O with iotop
- Monitor network usage with nethogs
Understanding resource usage helps you make informed decisions about future optimizations.
Power Management
Since we're running in a VM, we can disable some power management features:
sudo systemctl mask sleep.target suspend.target hibernate.target hybrid-sleep.target
This prevents the VM from trying to sleep or hibernate, which can sometimes cause issues in virtual environments.
Community Resources
Engage with these valuable communities for ongoing support:
- Ubuntu Community:
- Ubuntu Forums (https://ubuntuforums.org)
- Ask Ubuntu (https://askubuntu.com)
- Ubuntu Wiki (https://wiki.ubuntu.com)
- Proxmox Community:
- Proxmox Forums (https://forum.proxmox.com)
- Proxmox Wiki (https://pve.proxmox.com/wiki)
- Local Support:
- Join local Linux User Groups (LUGs)
- Participate in virtual meetups
- Contribute to open source projects
This concludes our comprehensive guide to installing Ubuntu Desktop 24.04.1 on Proxmox.

